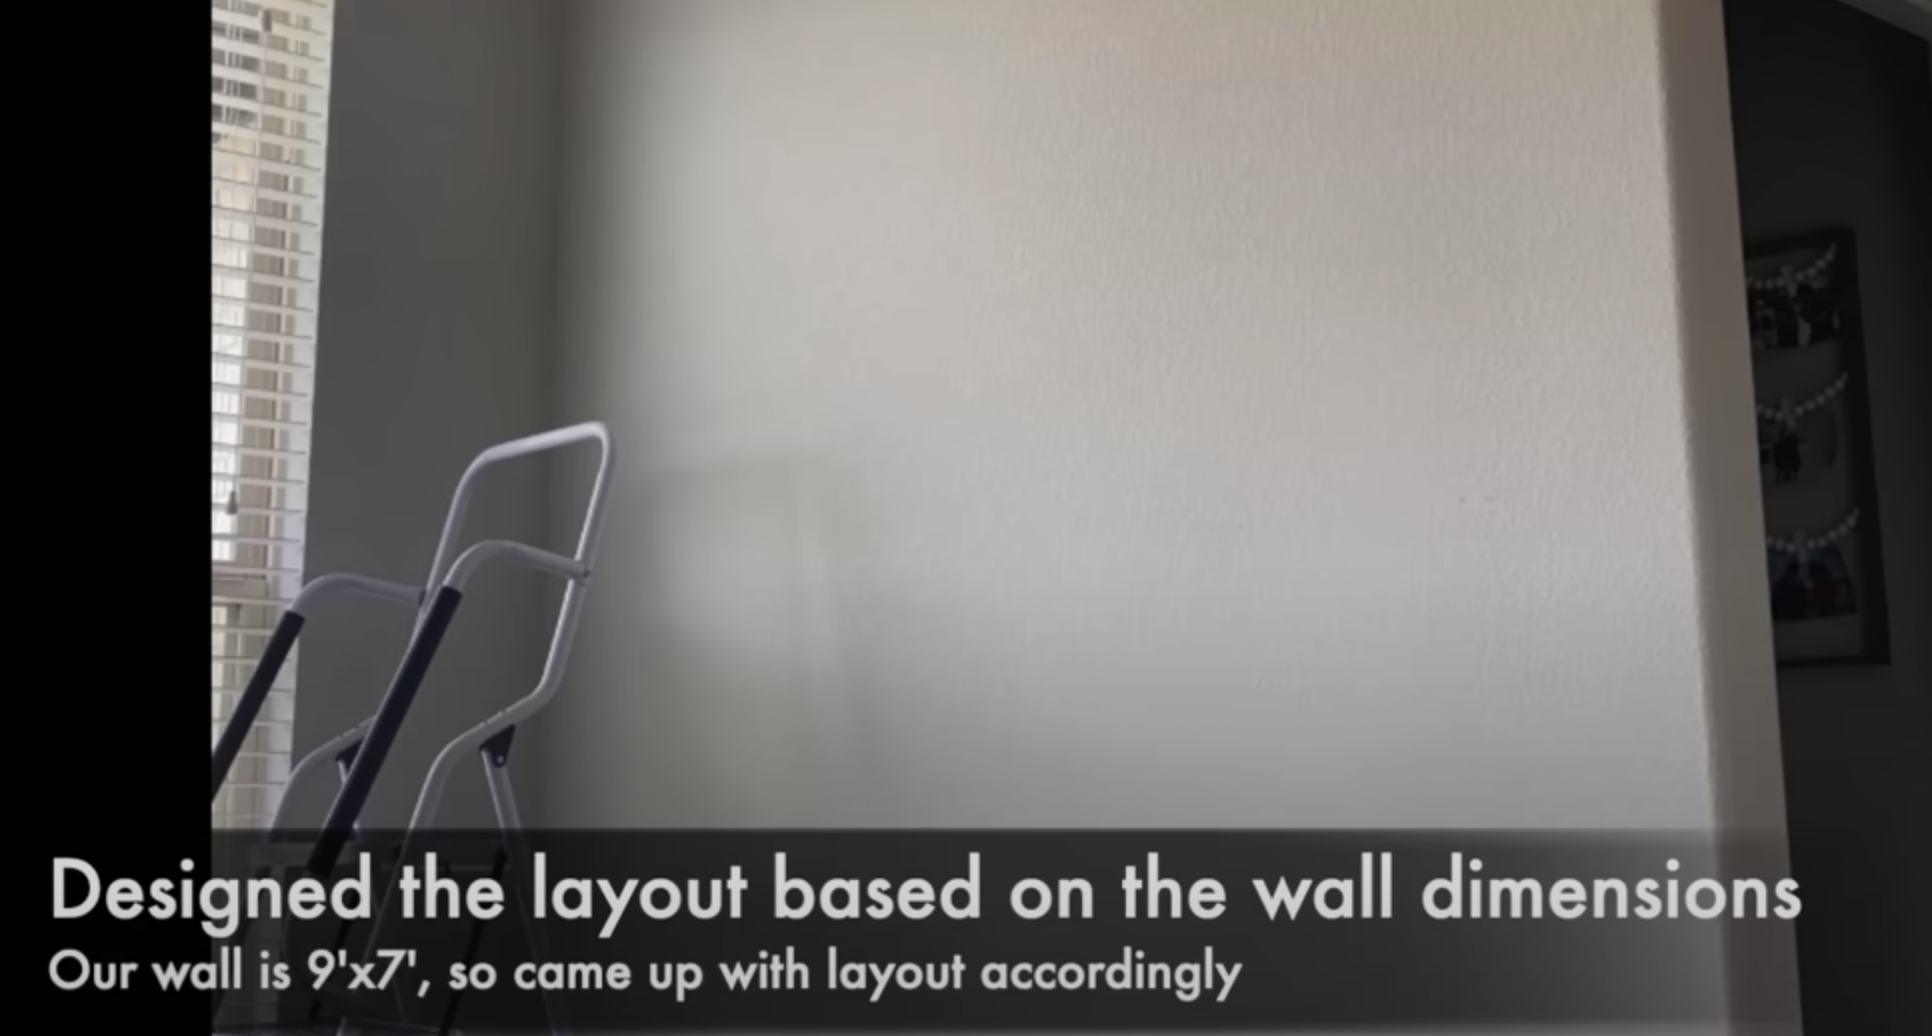
Transforming a bare wall into a glowing masterpiece isn’t as complicated as it might seem, especially when you have the right tools and a clear blueprint. Inspired by a mesmerizing design on Pinterest, my husband and I decided to bring that spark to our living space. Here's our journey and the steps we took to create our very own accent wall with lights.
We built this wall almost 3 years ago, so I tried to keep below list as relevant as possible. I encourage you to explore other options as per your needs.
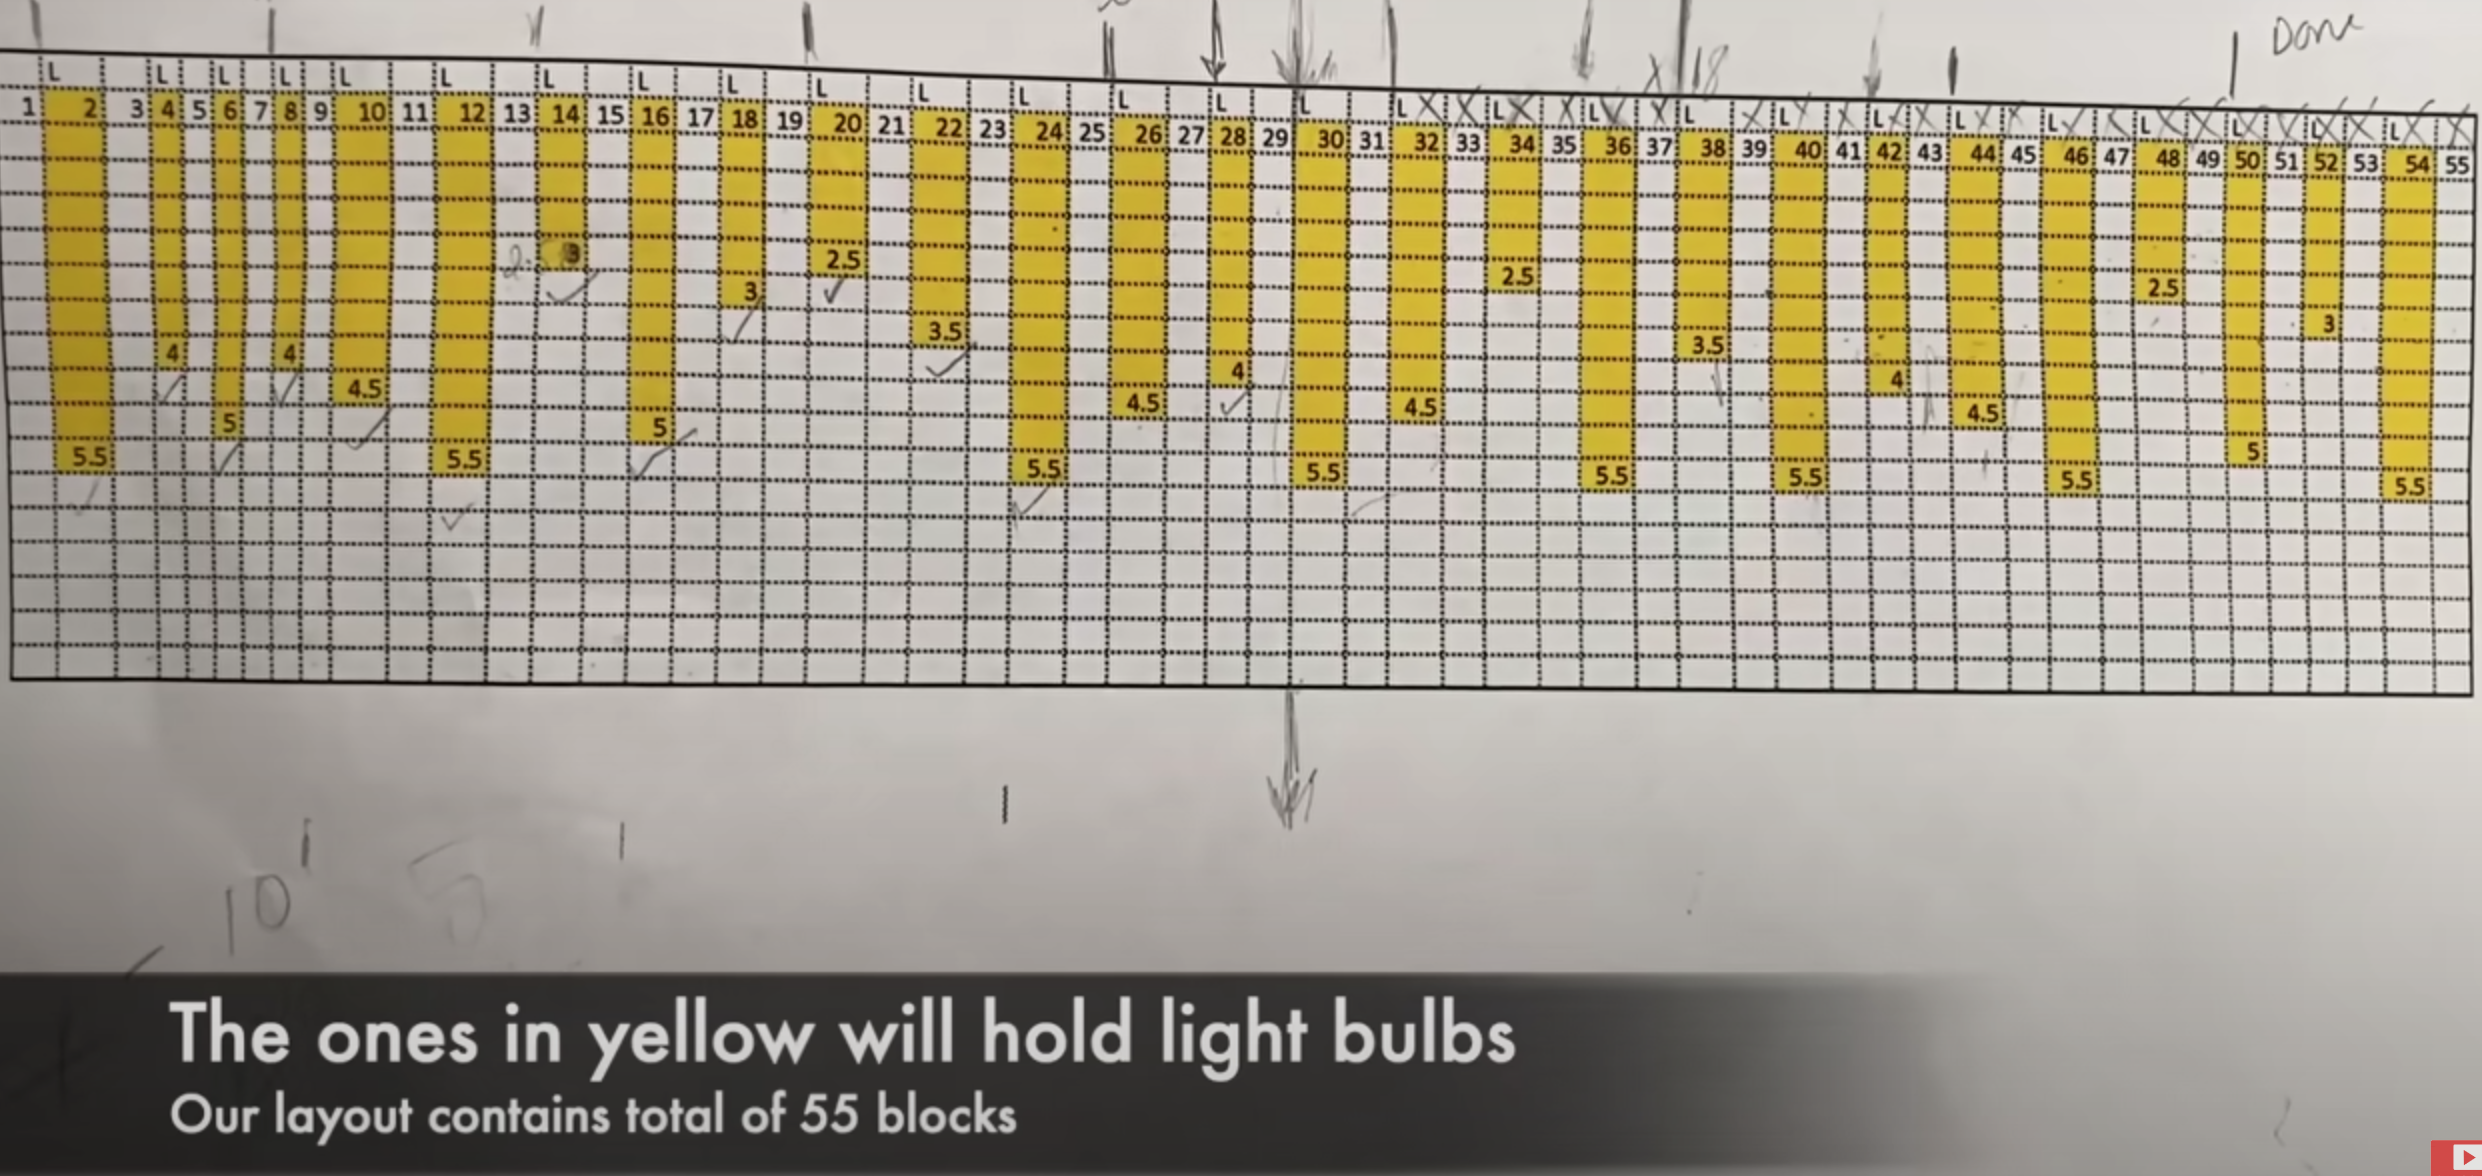
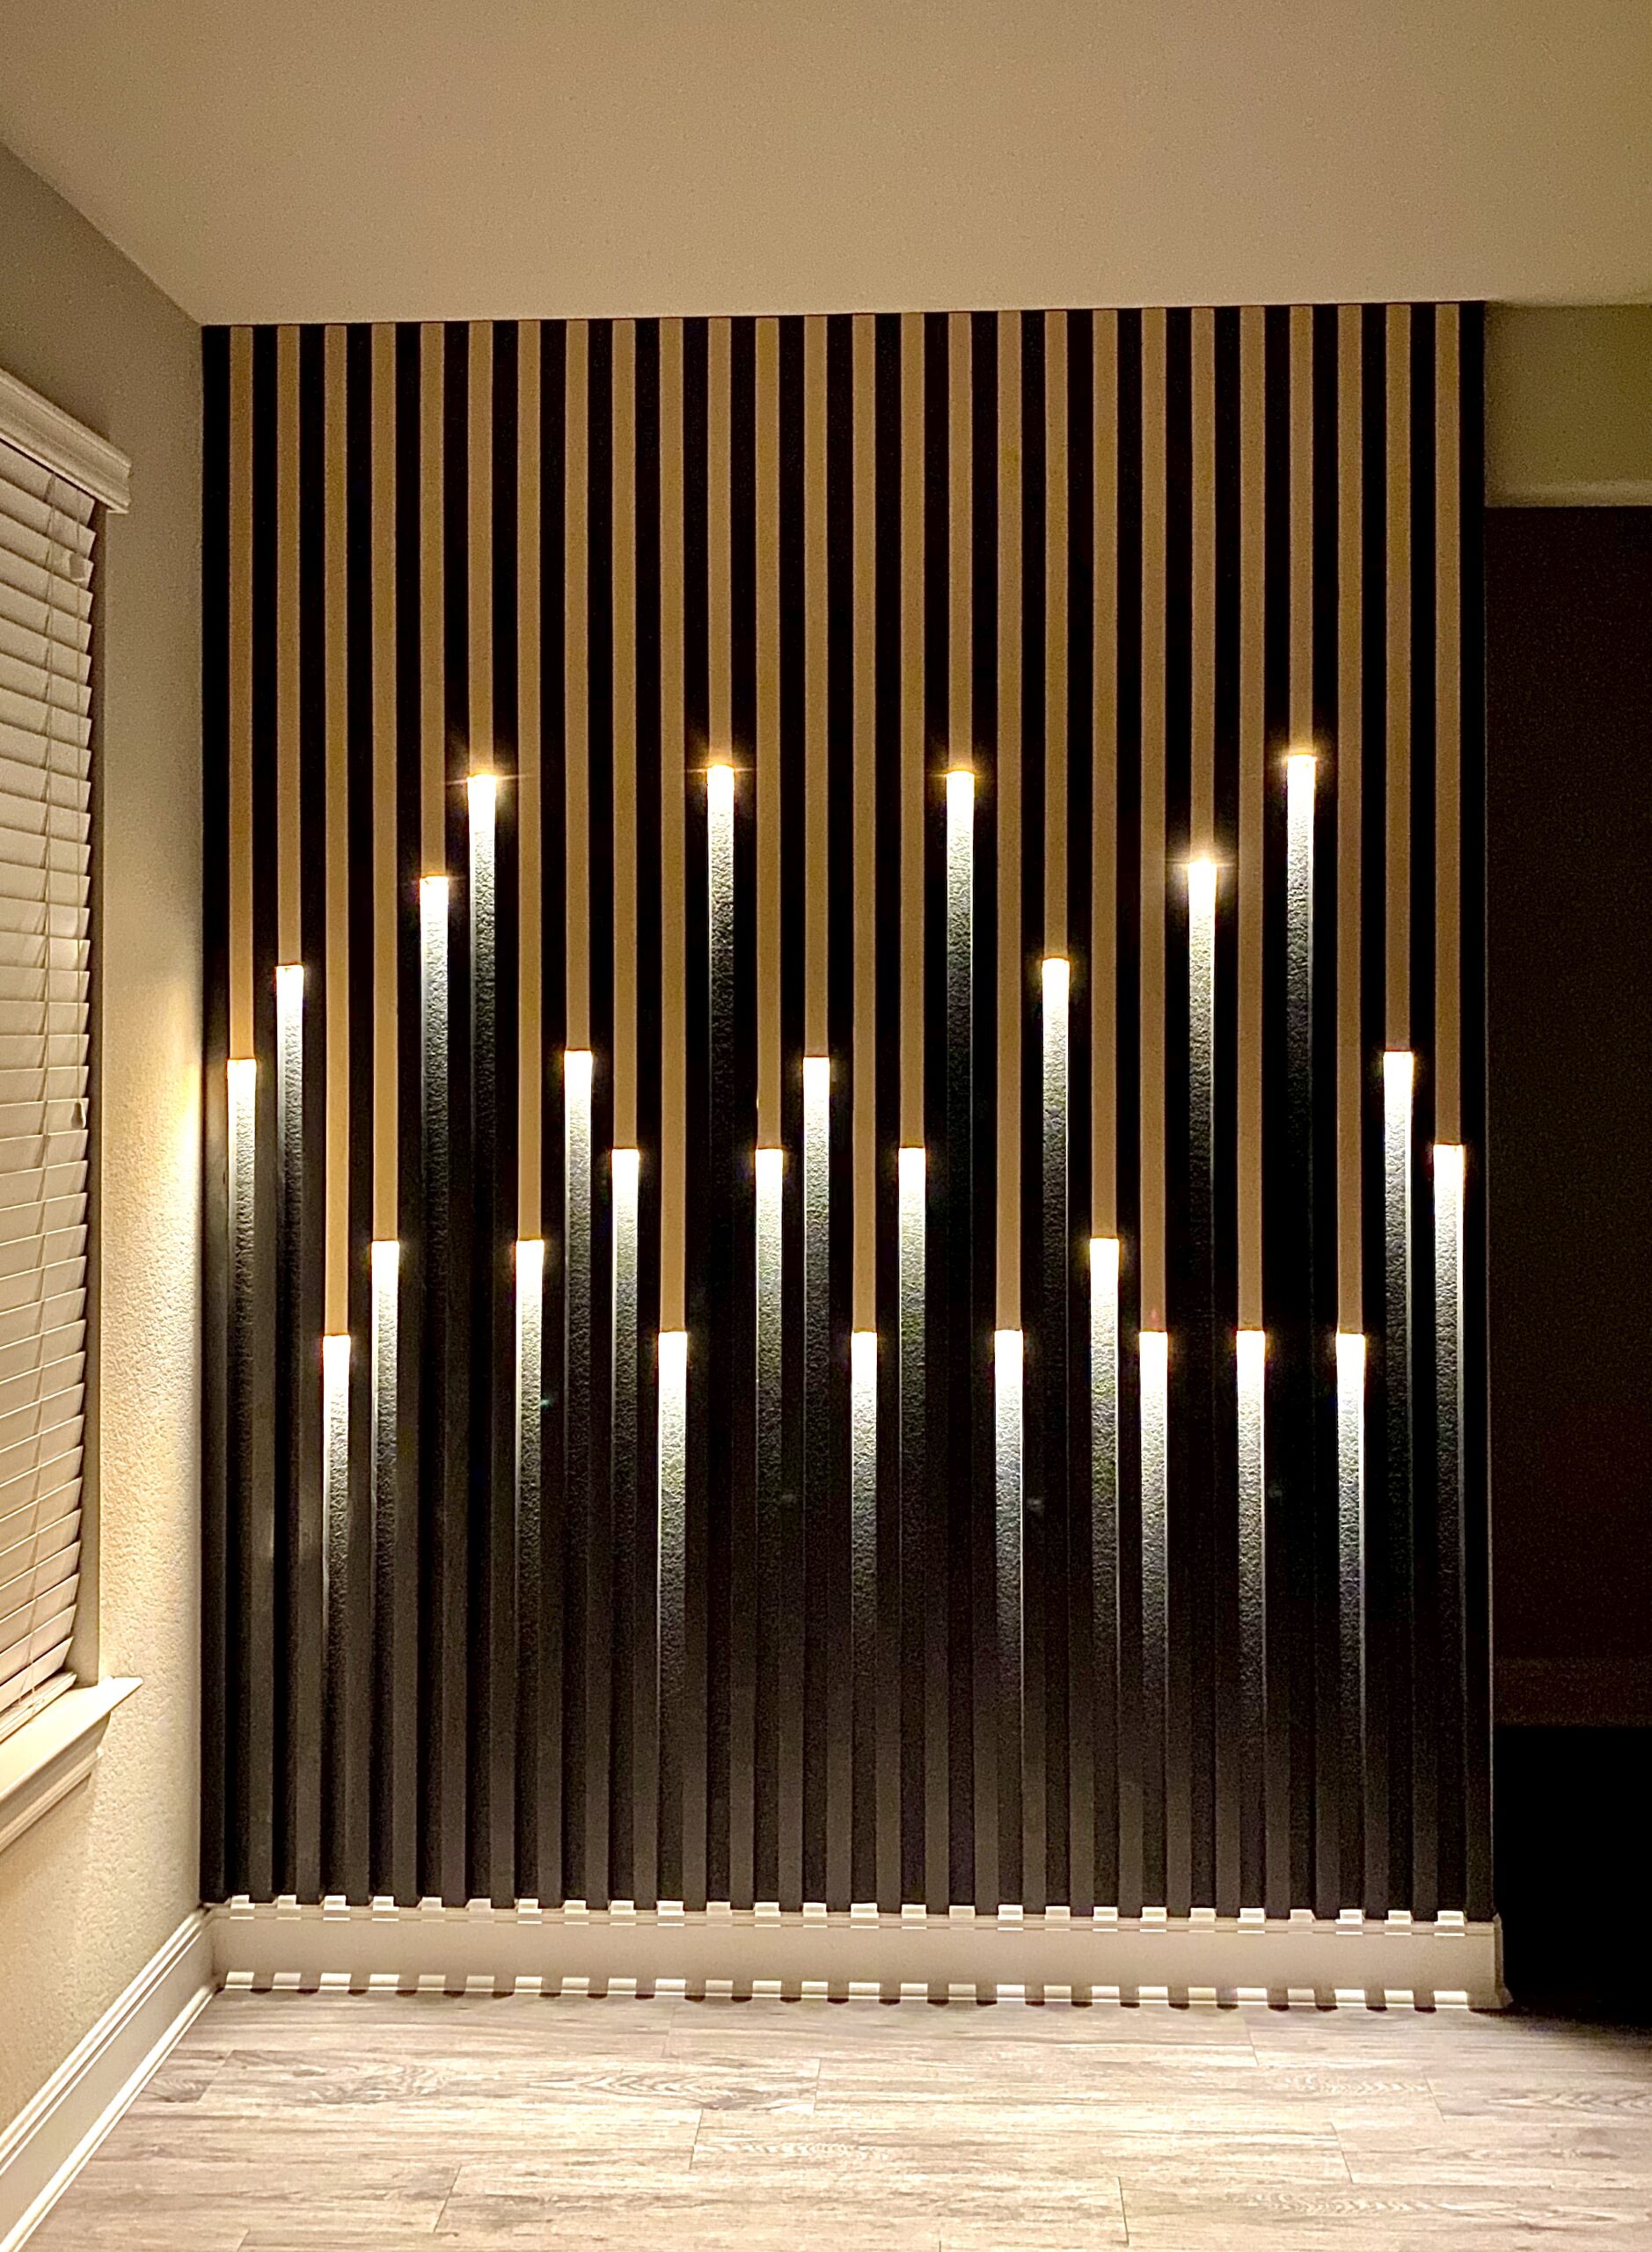
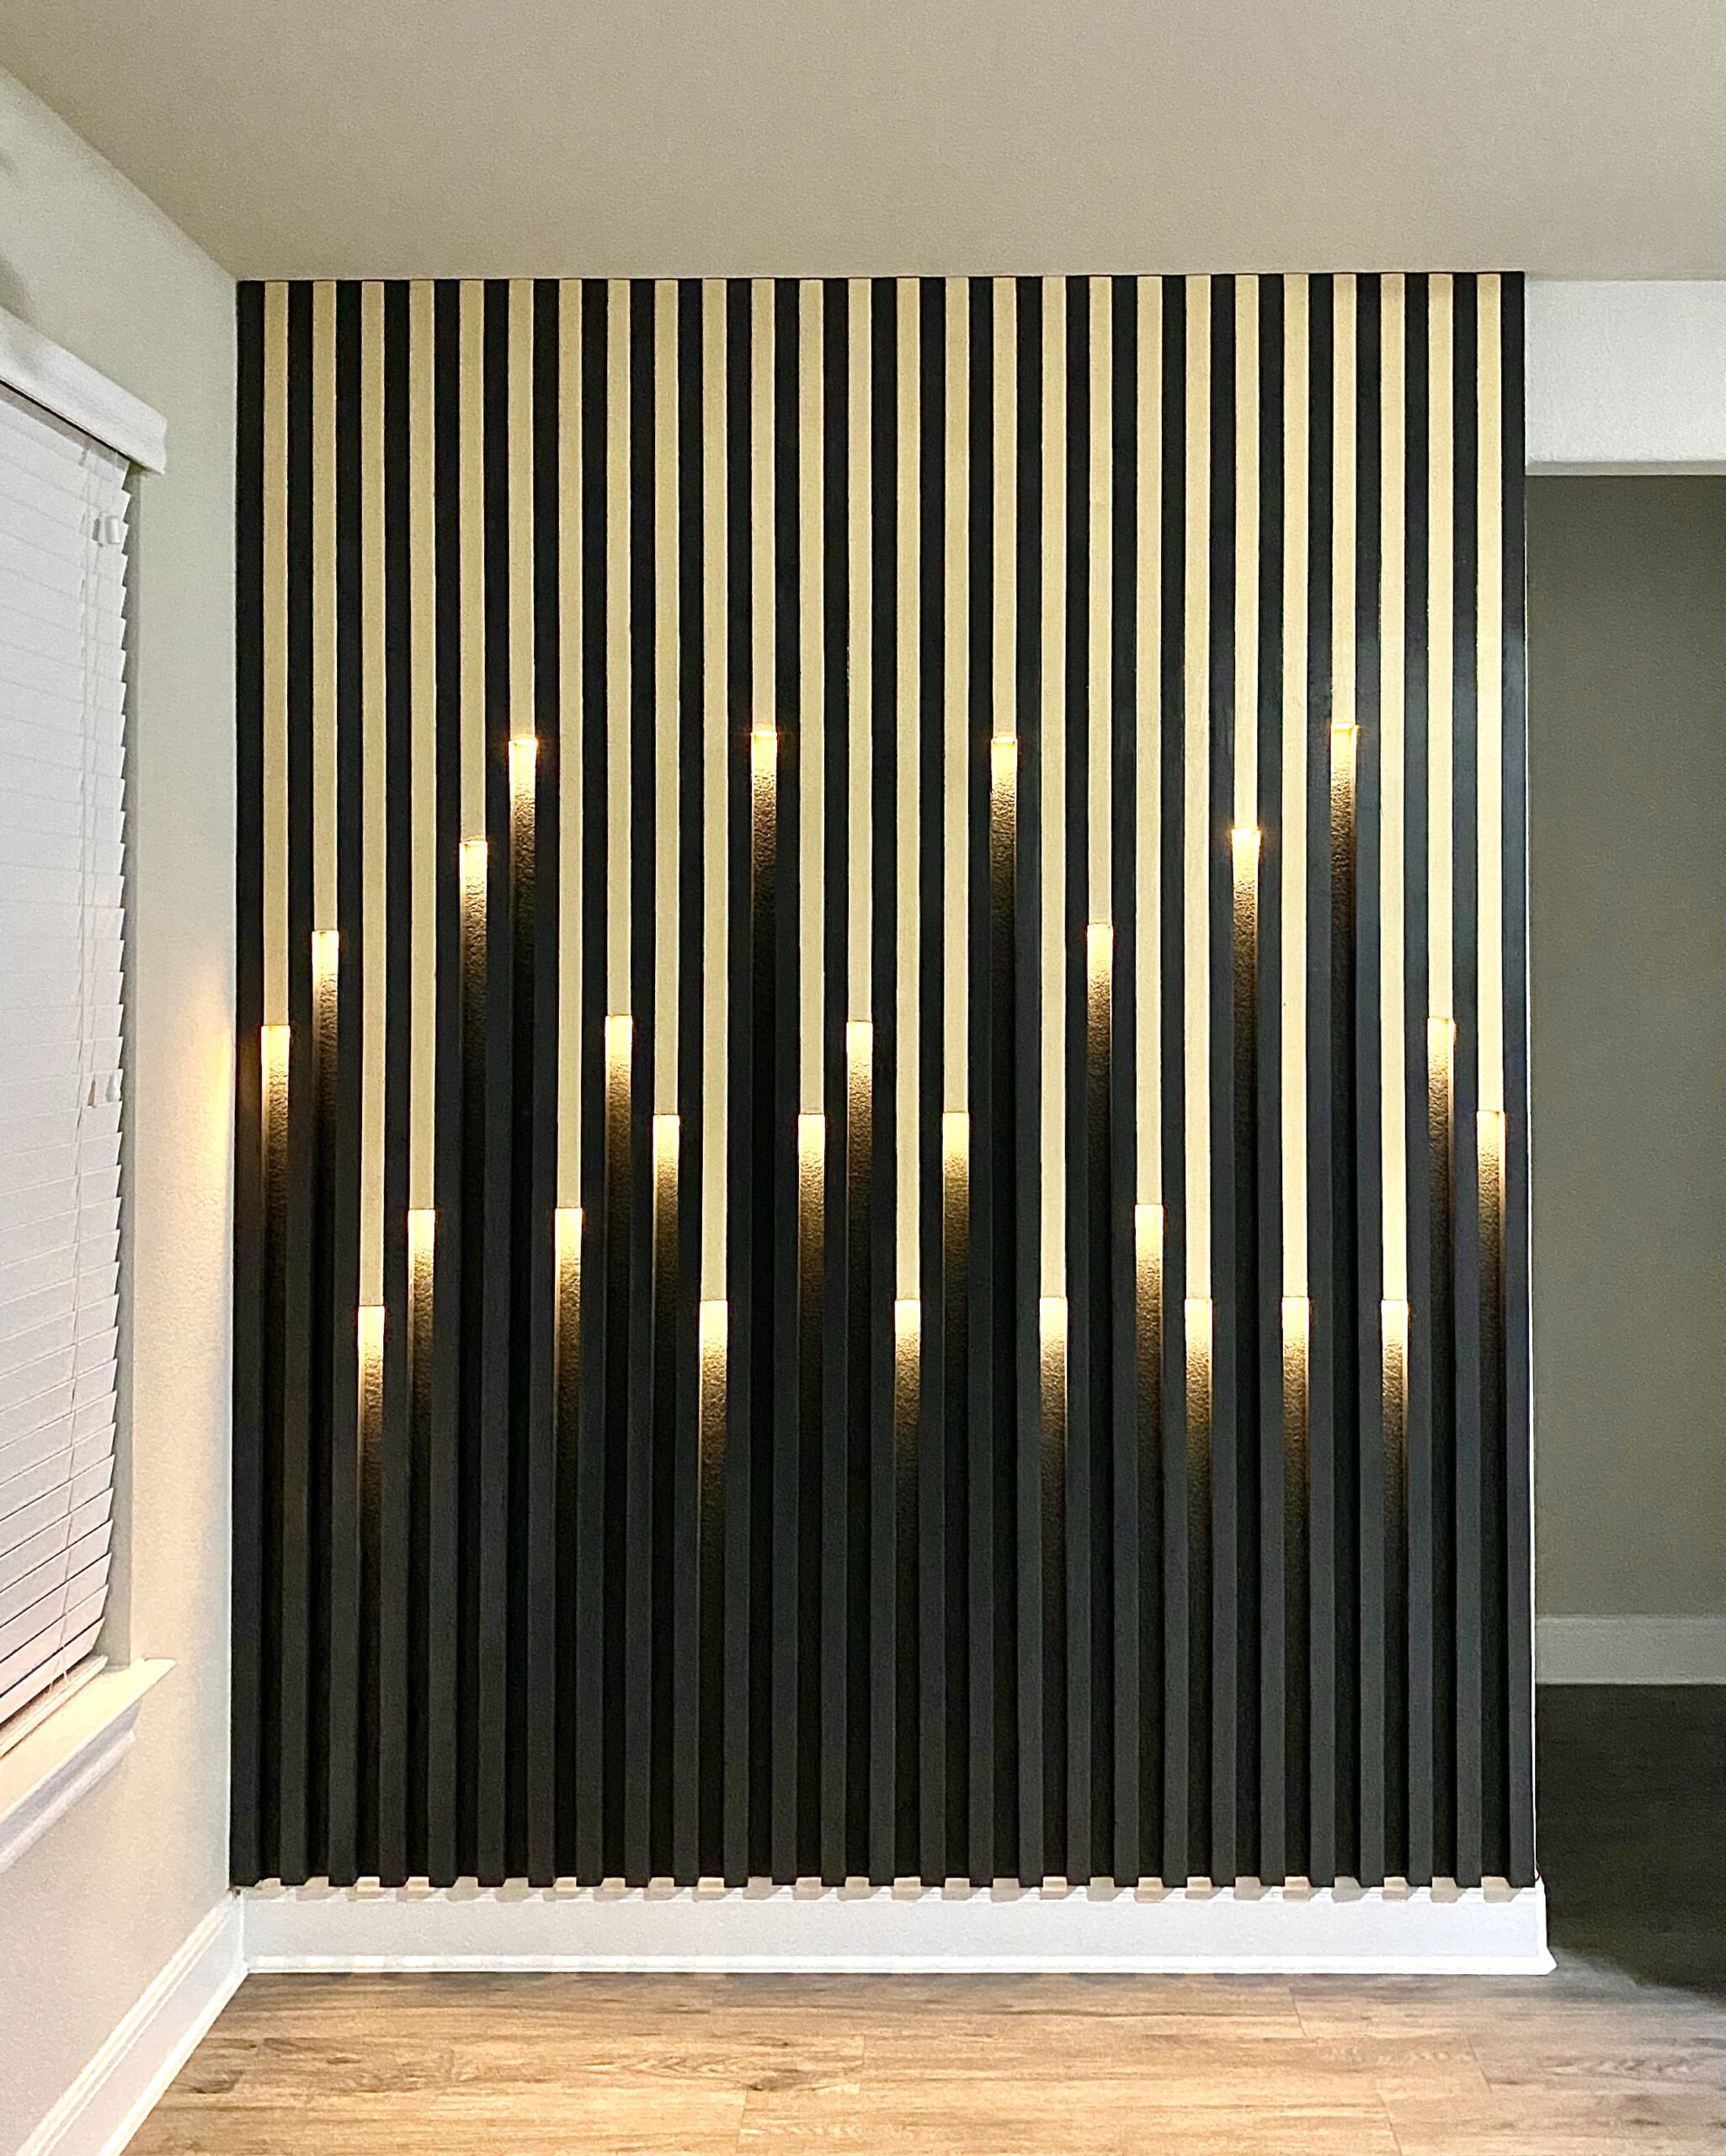
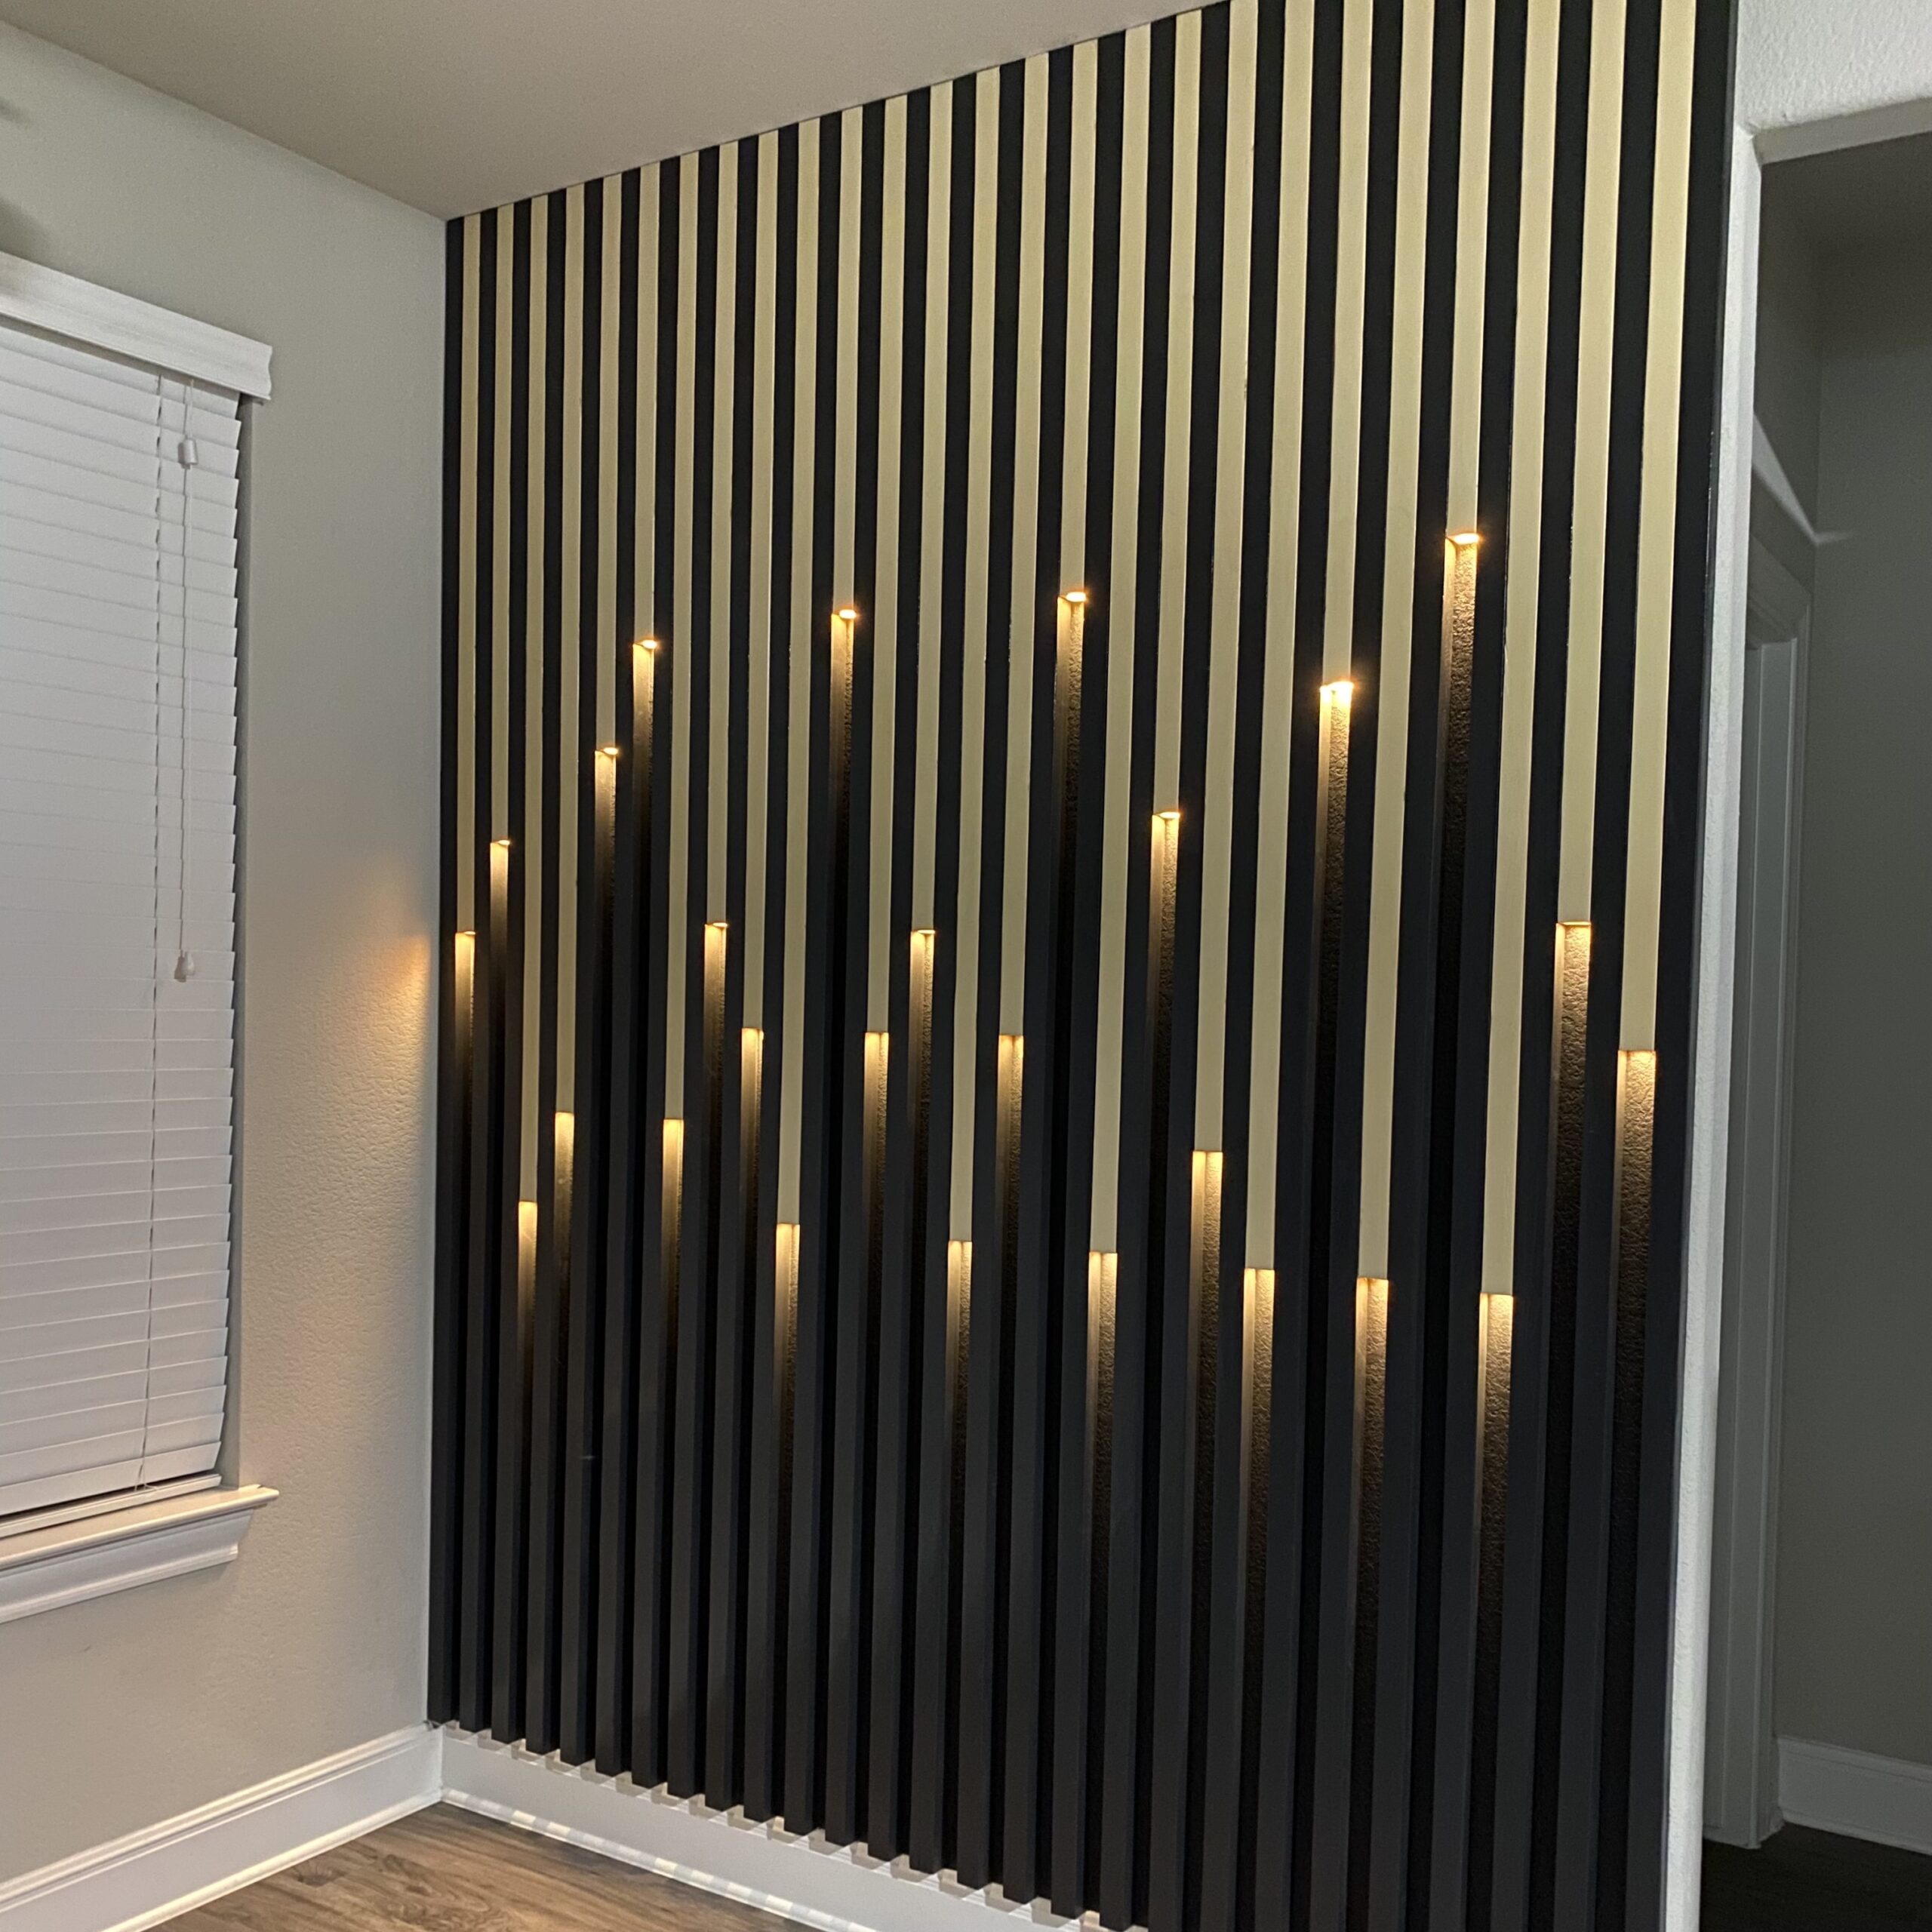
First, we designed a layout based on our 9'X7' wall dimensions. The blueprint featured 55 blocks with blocks highlighted in yellow designated to house the LED bulbs.
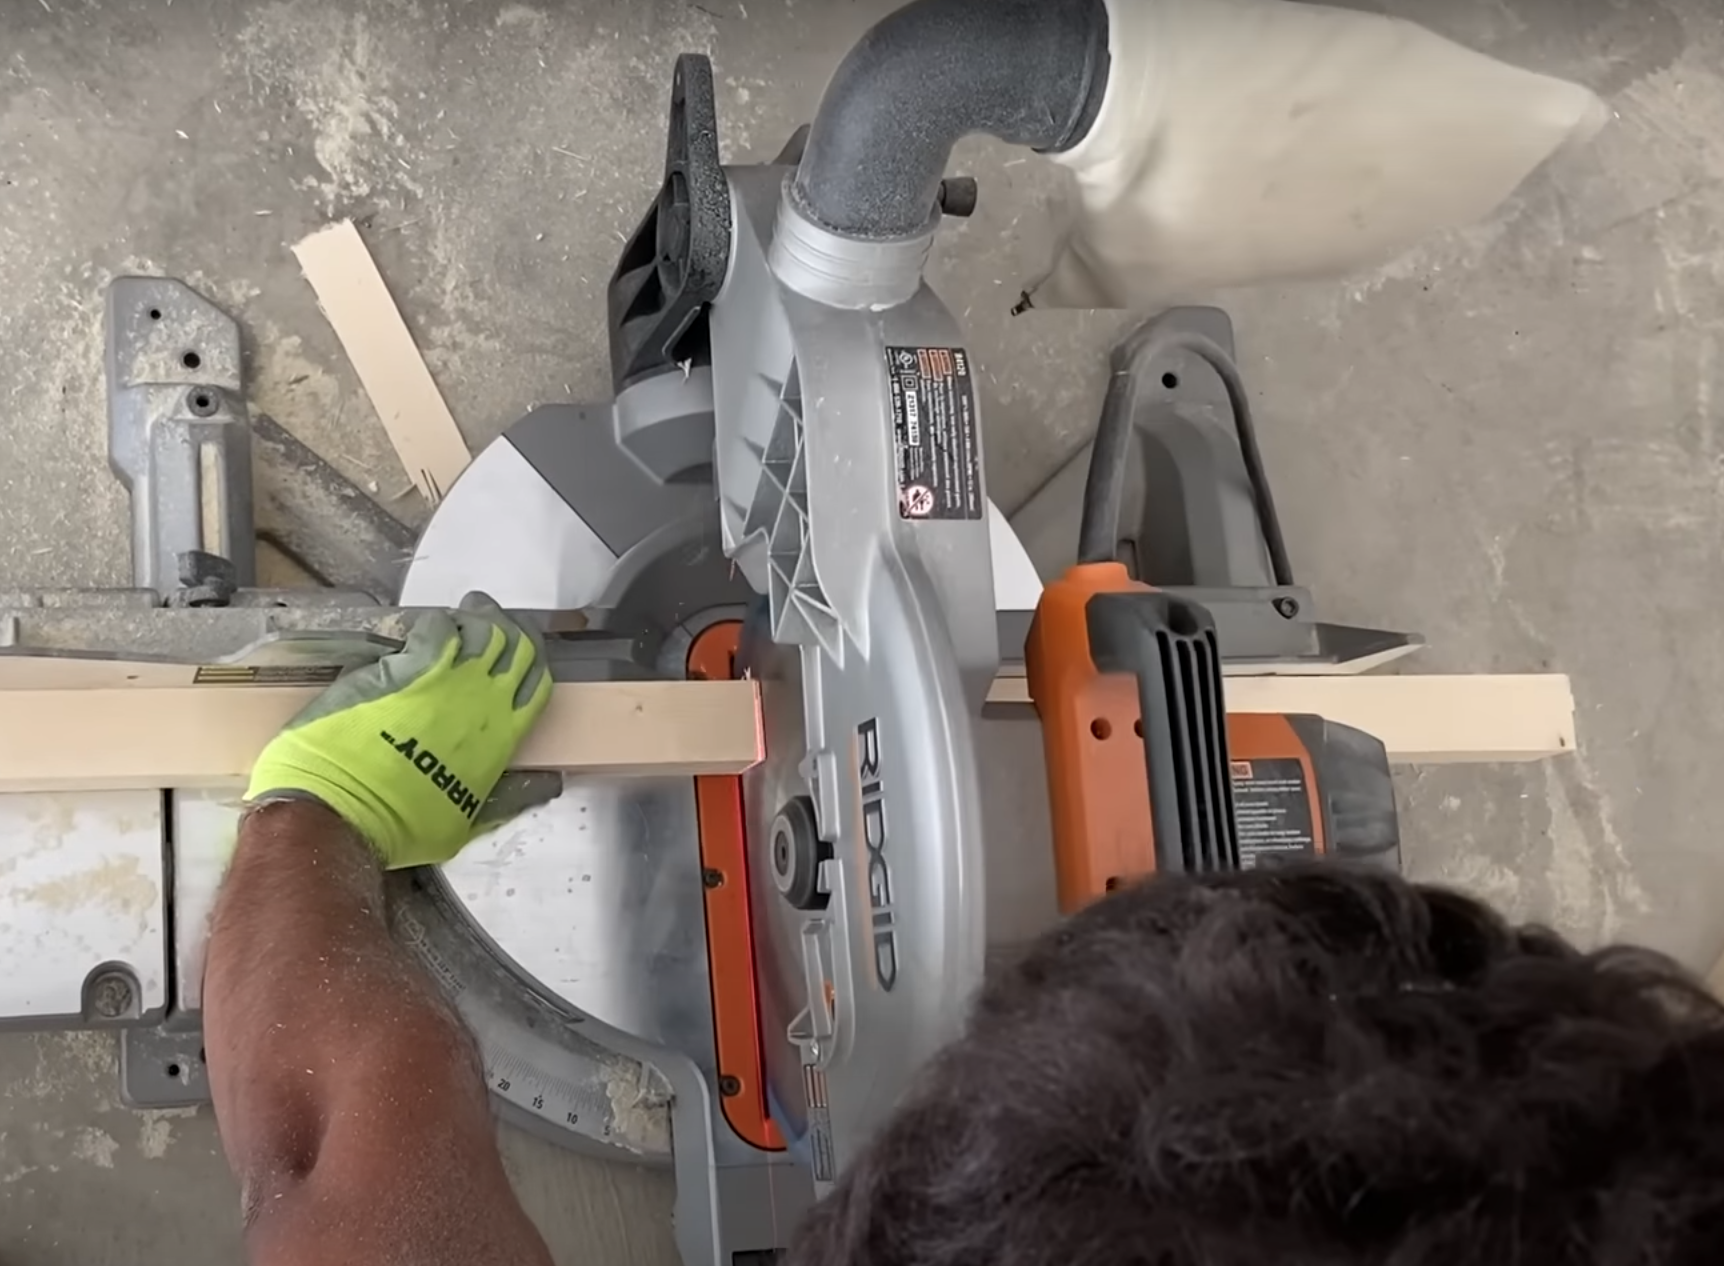
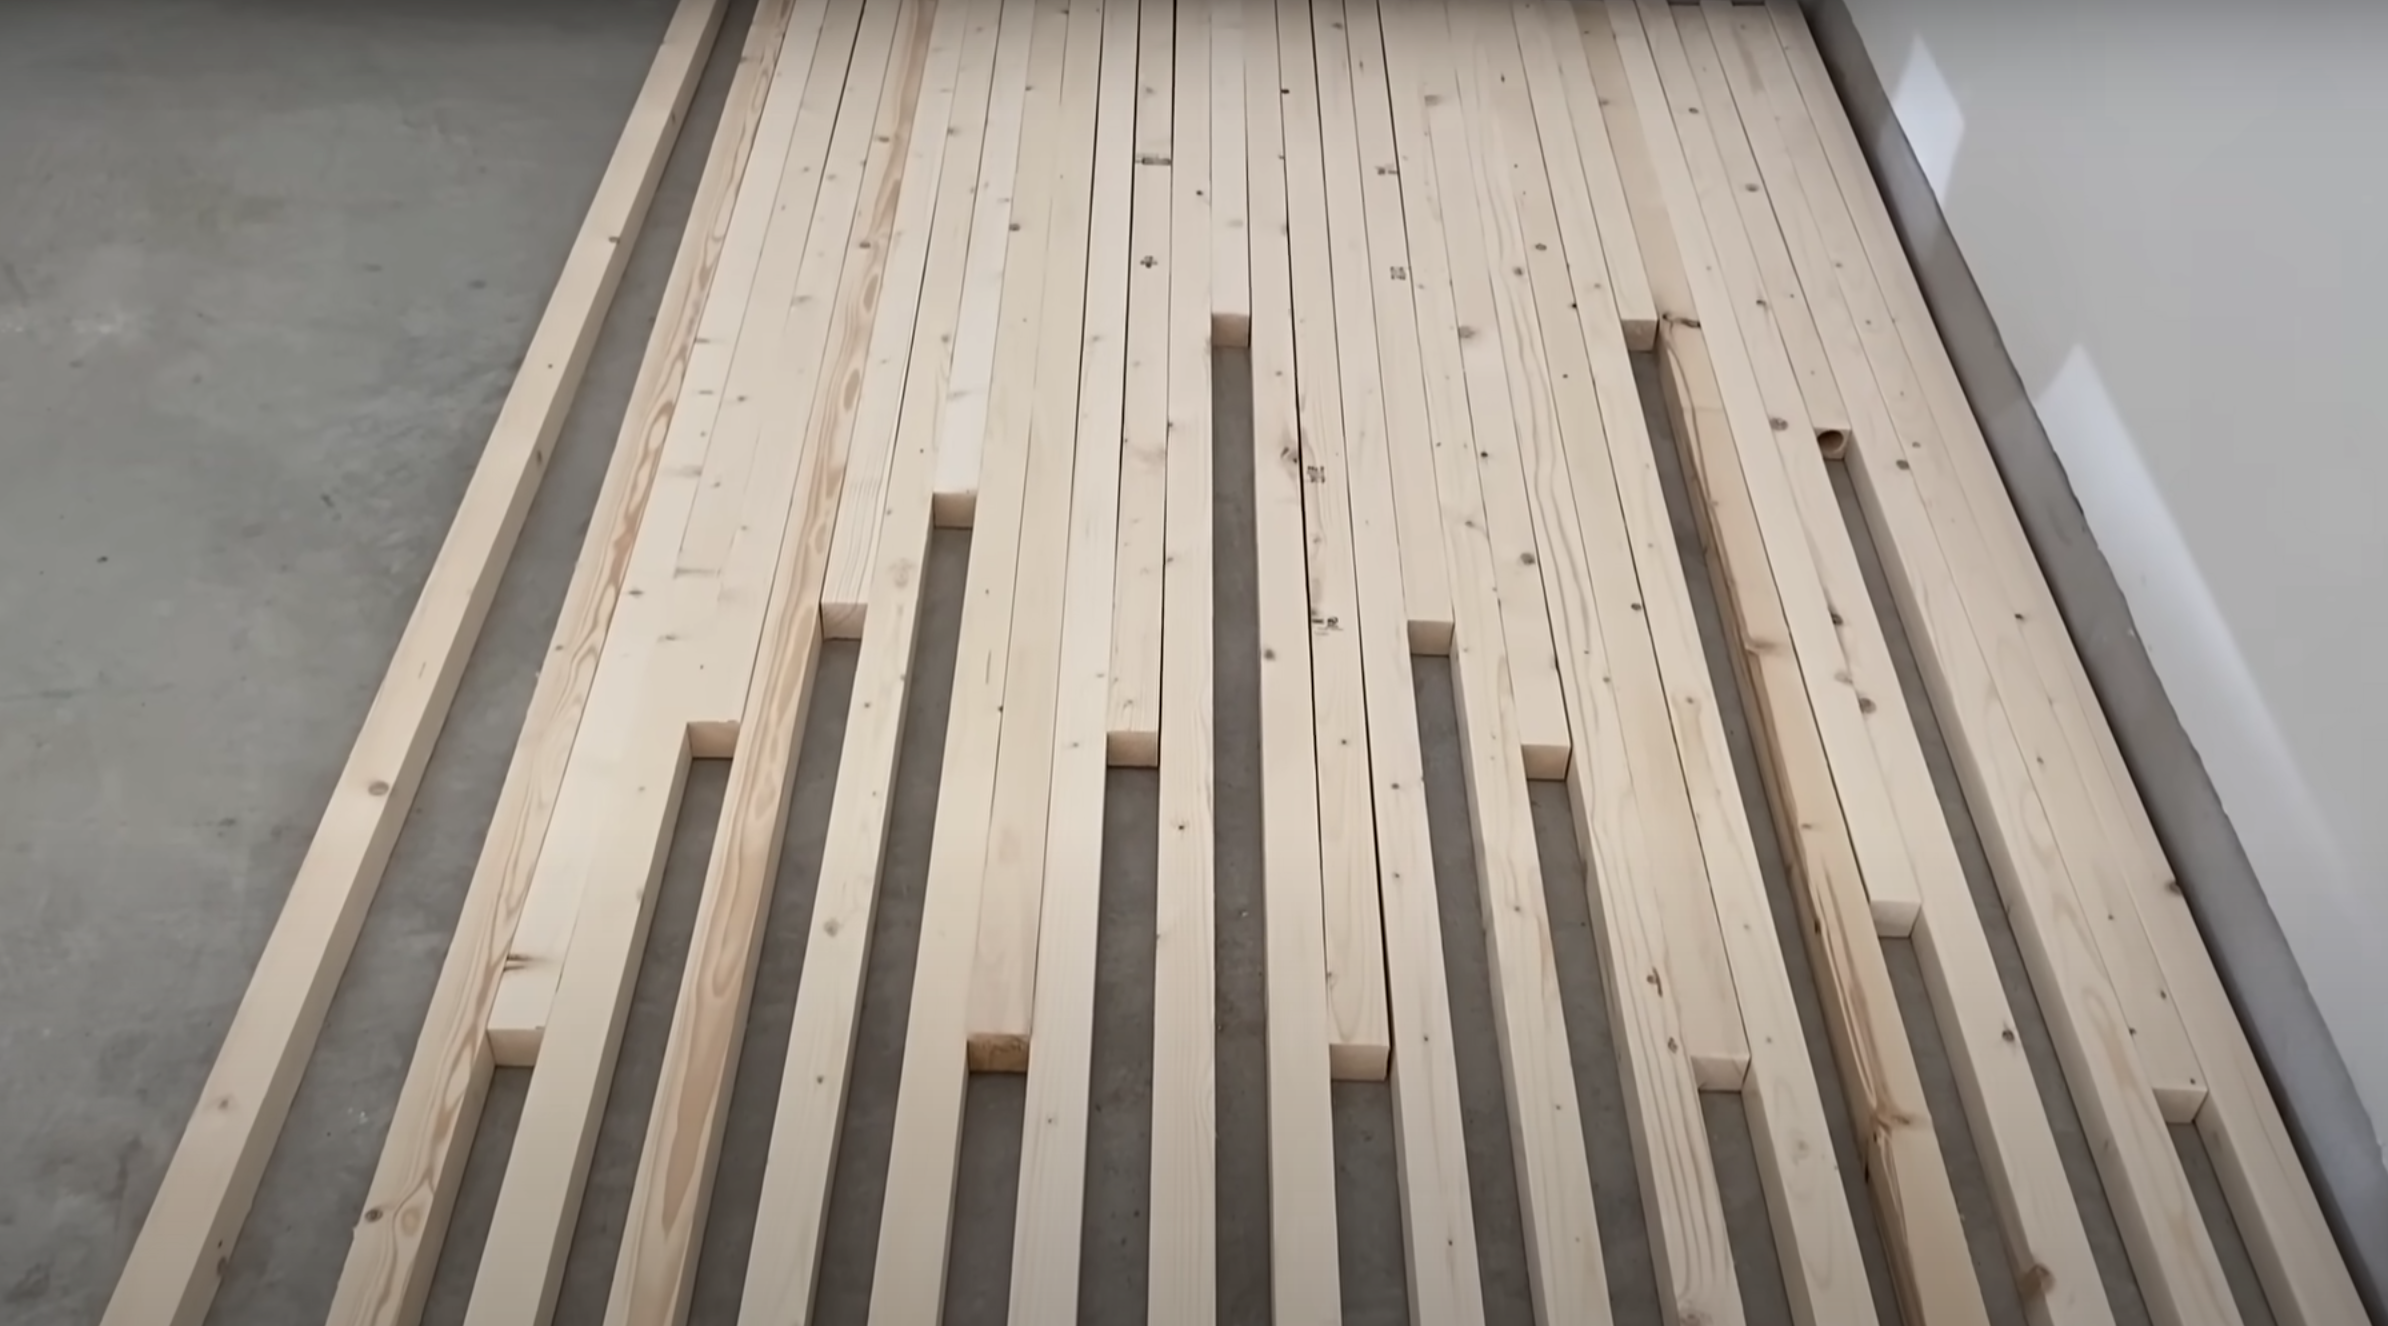
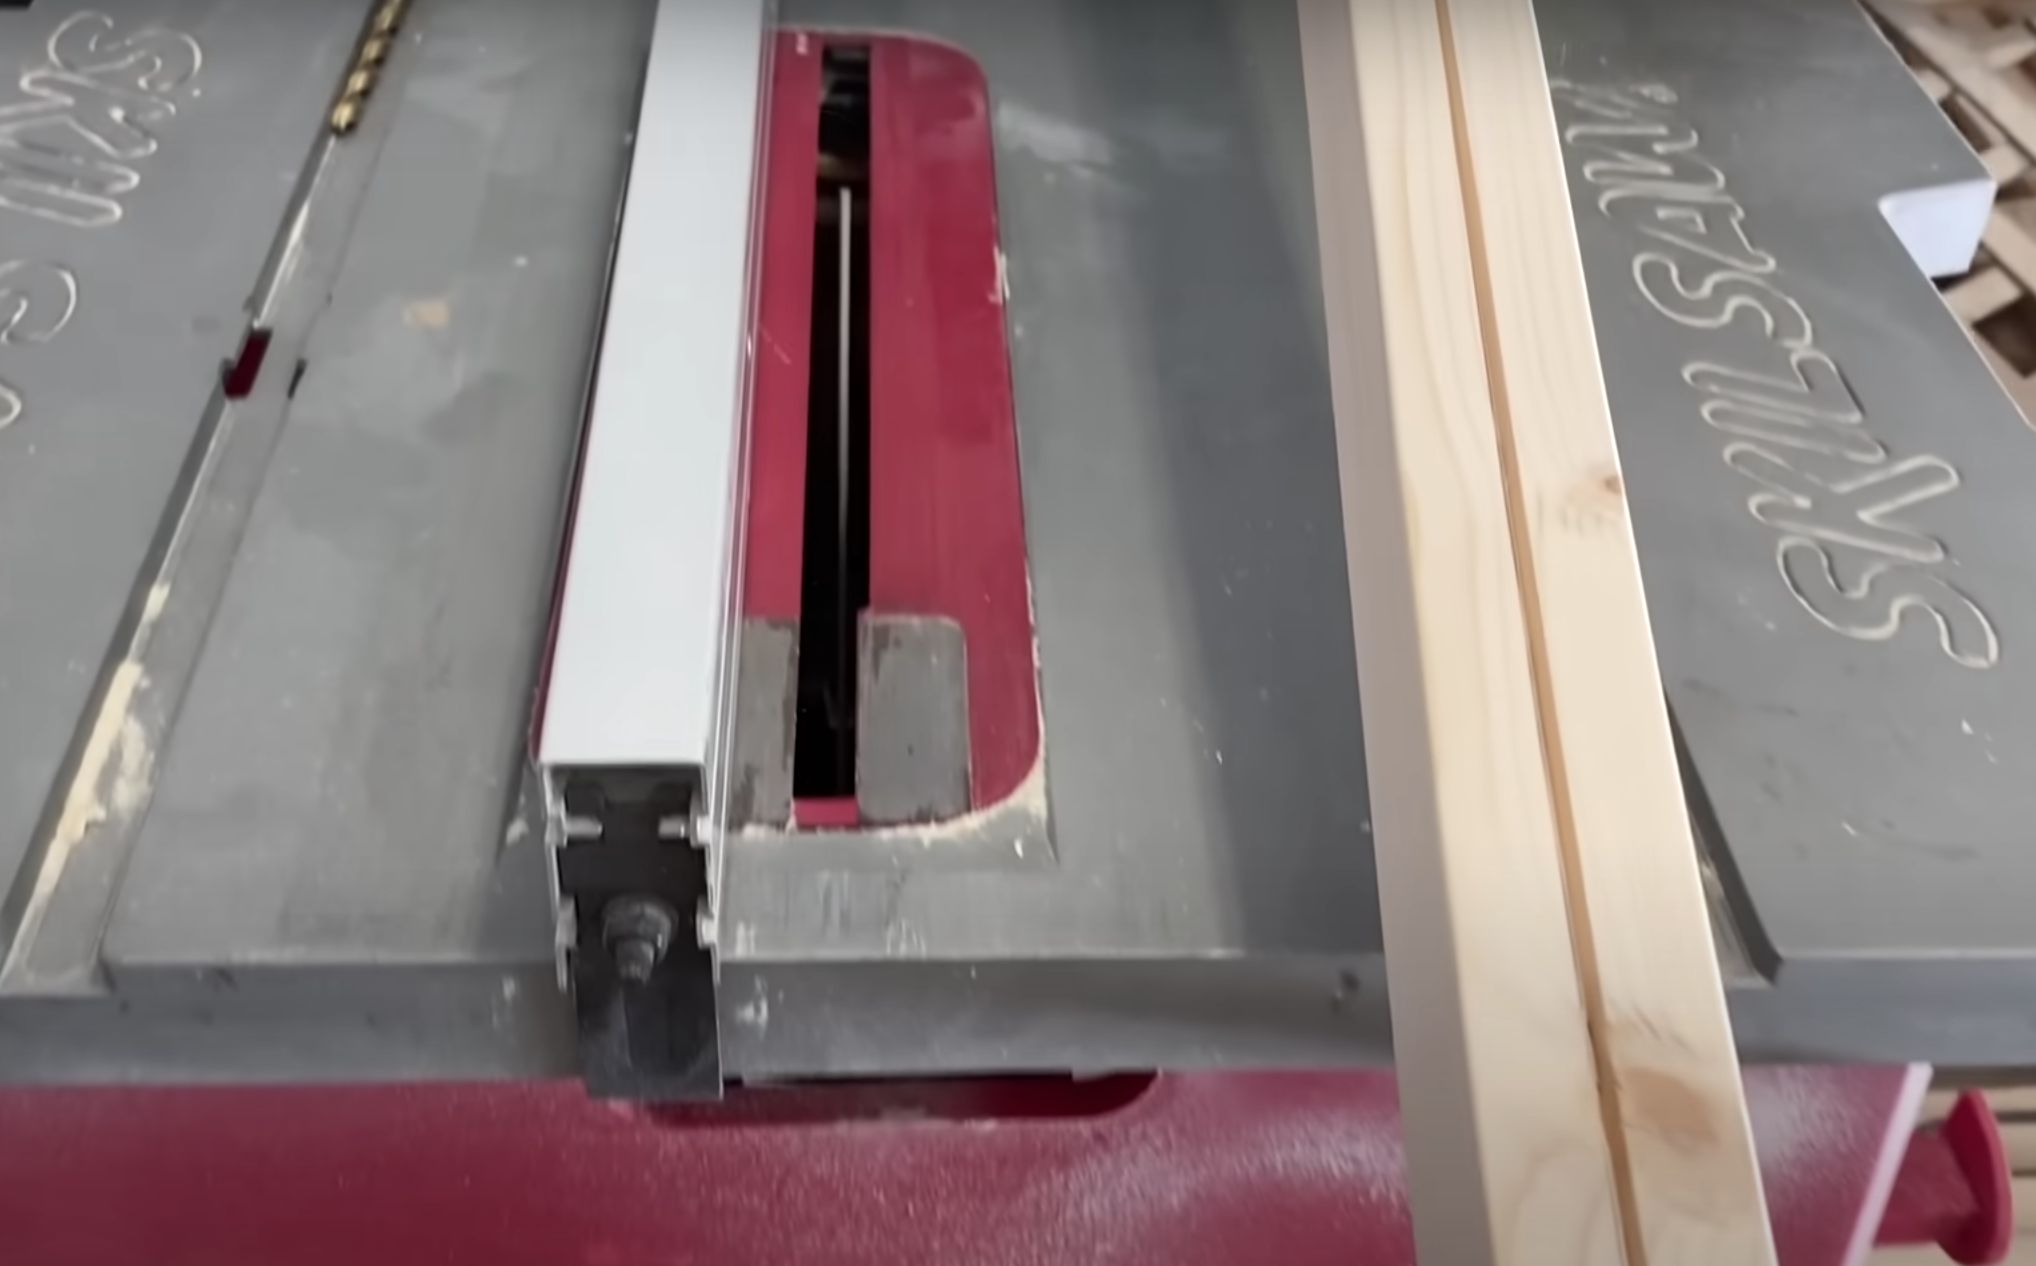
2. Cutting Wood
We had some 2"X4" lumbers from previous project and decided to use them, so we transformed them into 2"X2" strips, cutting them further into specified lengths according to our layout. P.S: You can just go with 2"x2" lumber directly instead of cutting down 2"x4" since that would save a lot of time
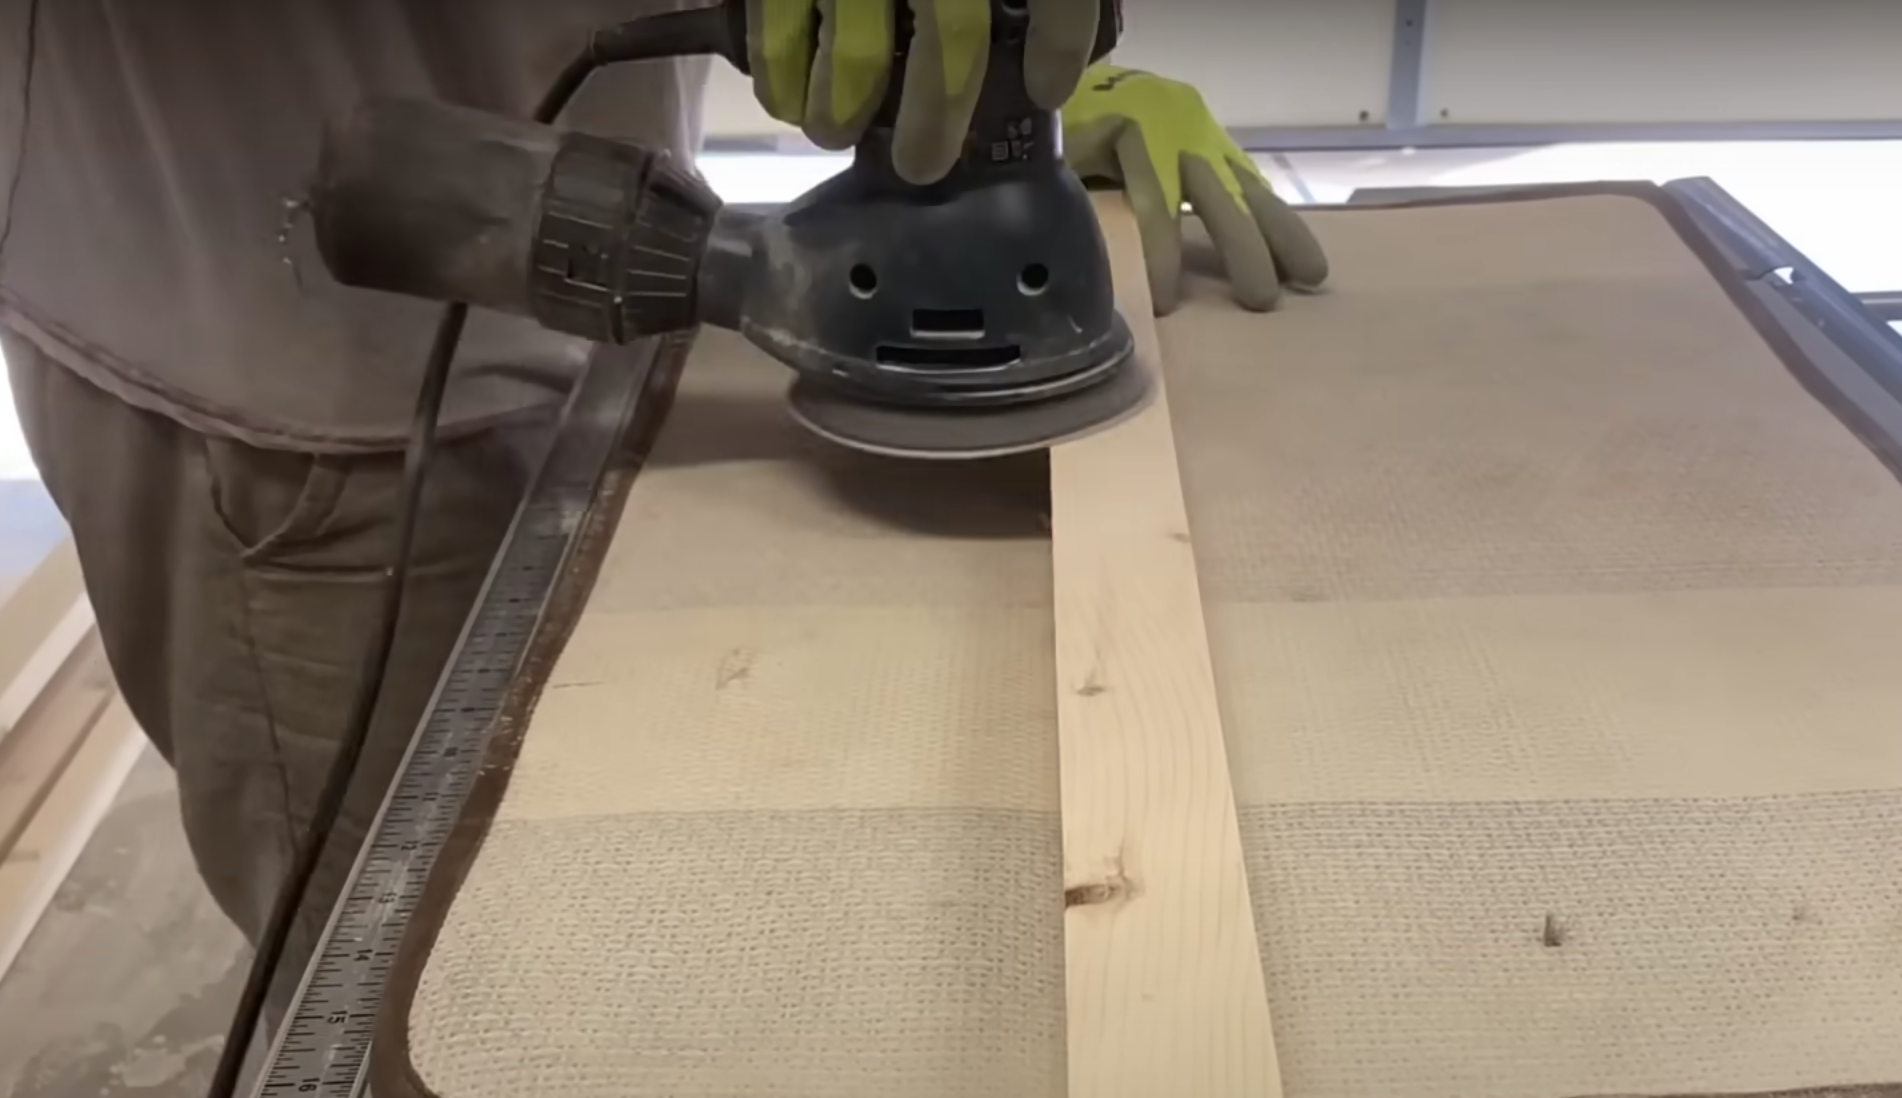
3. Sanding:
A smooth finish was vital, so we thoroughly sanded each strip for a polished appearance.
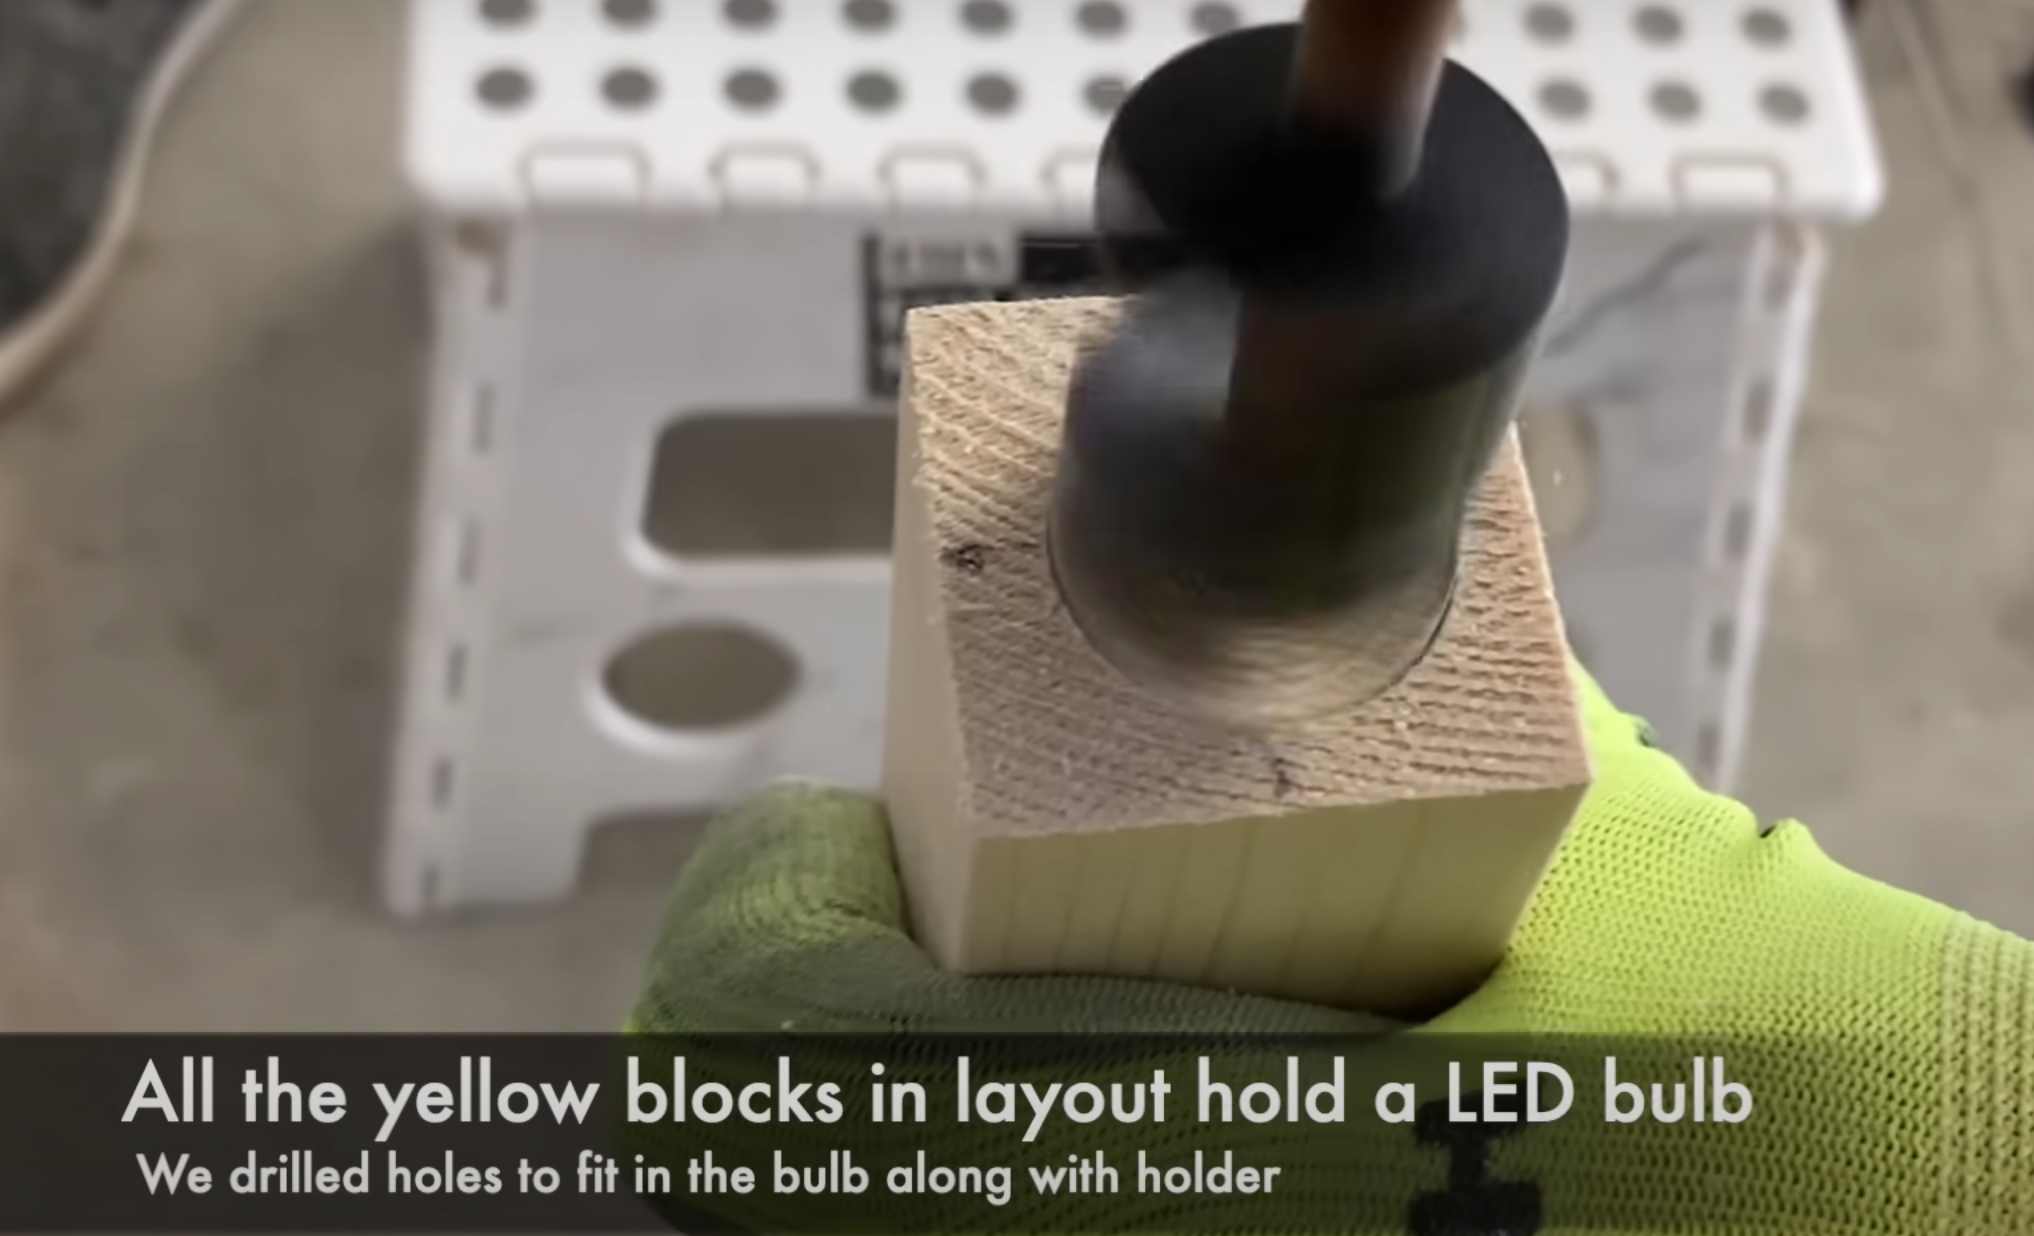
4. Drilling Holes:
The yellow blocks from our design were prepped to hold the bulbs by drilling the necessary holes.
5. Making Slits:
To ensure all wiring was hidden, we carved slits on the underside of the strips. For those blocks holding bulbs, additional holes were made for the wiring.
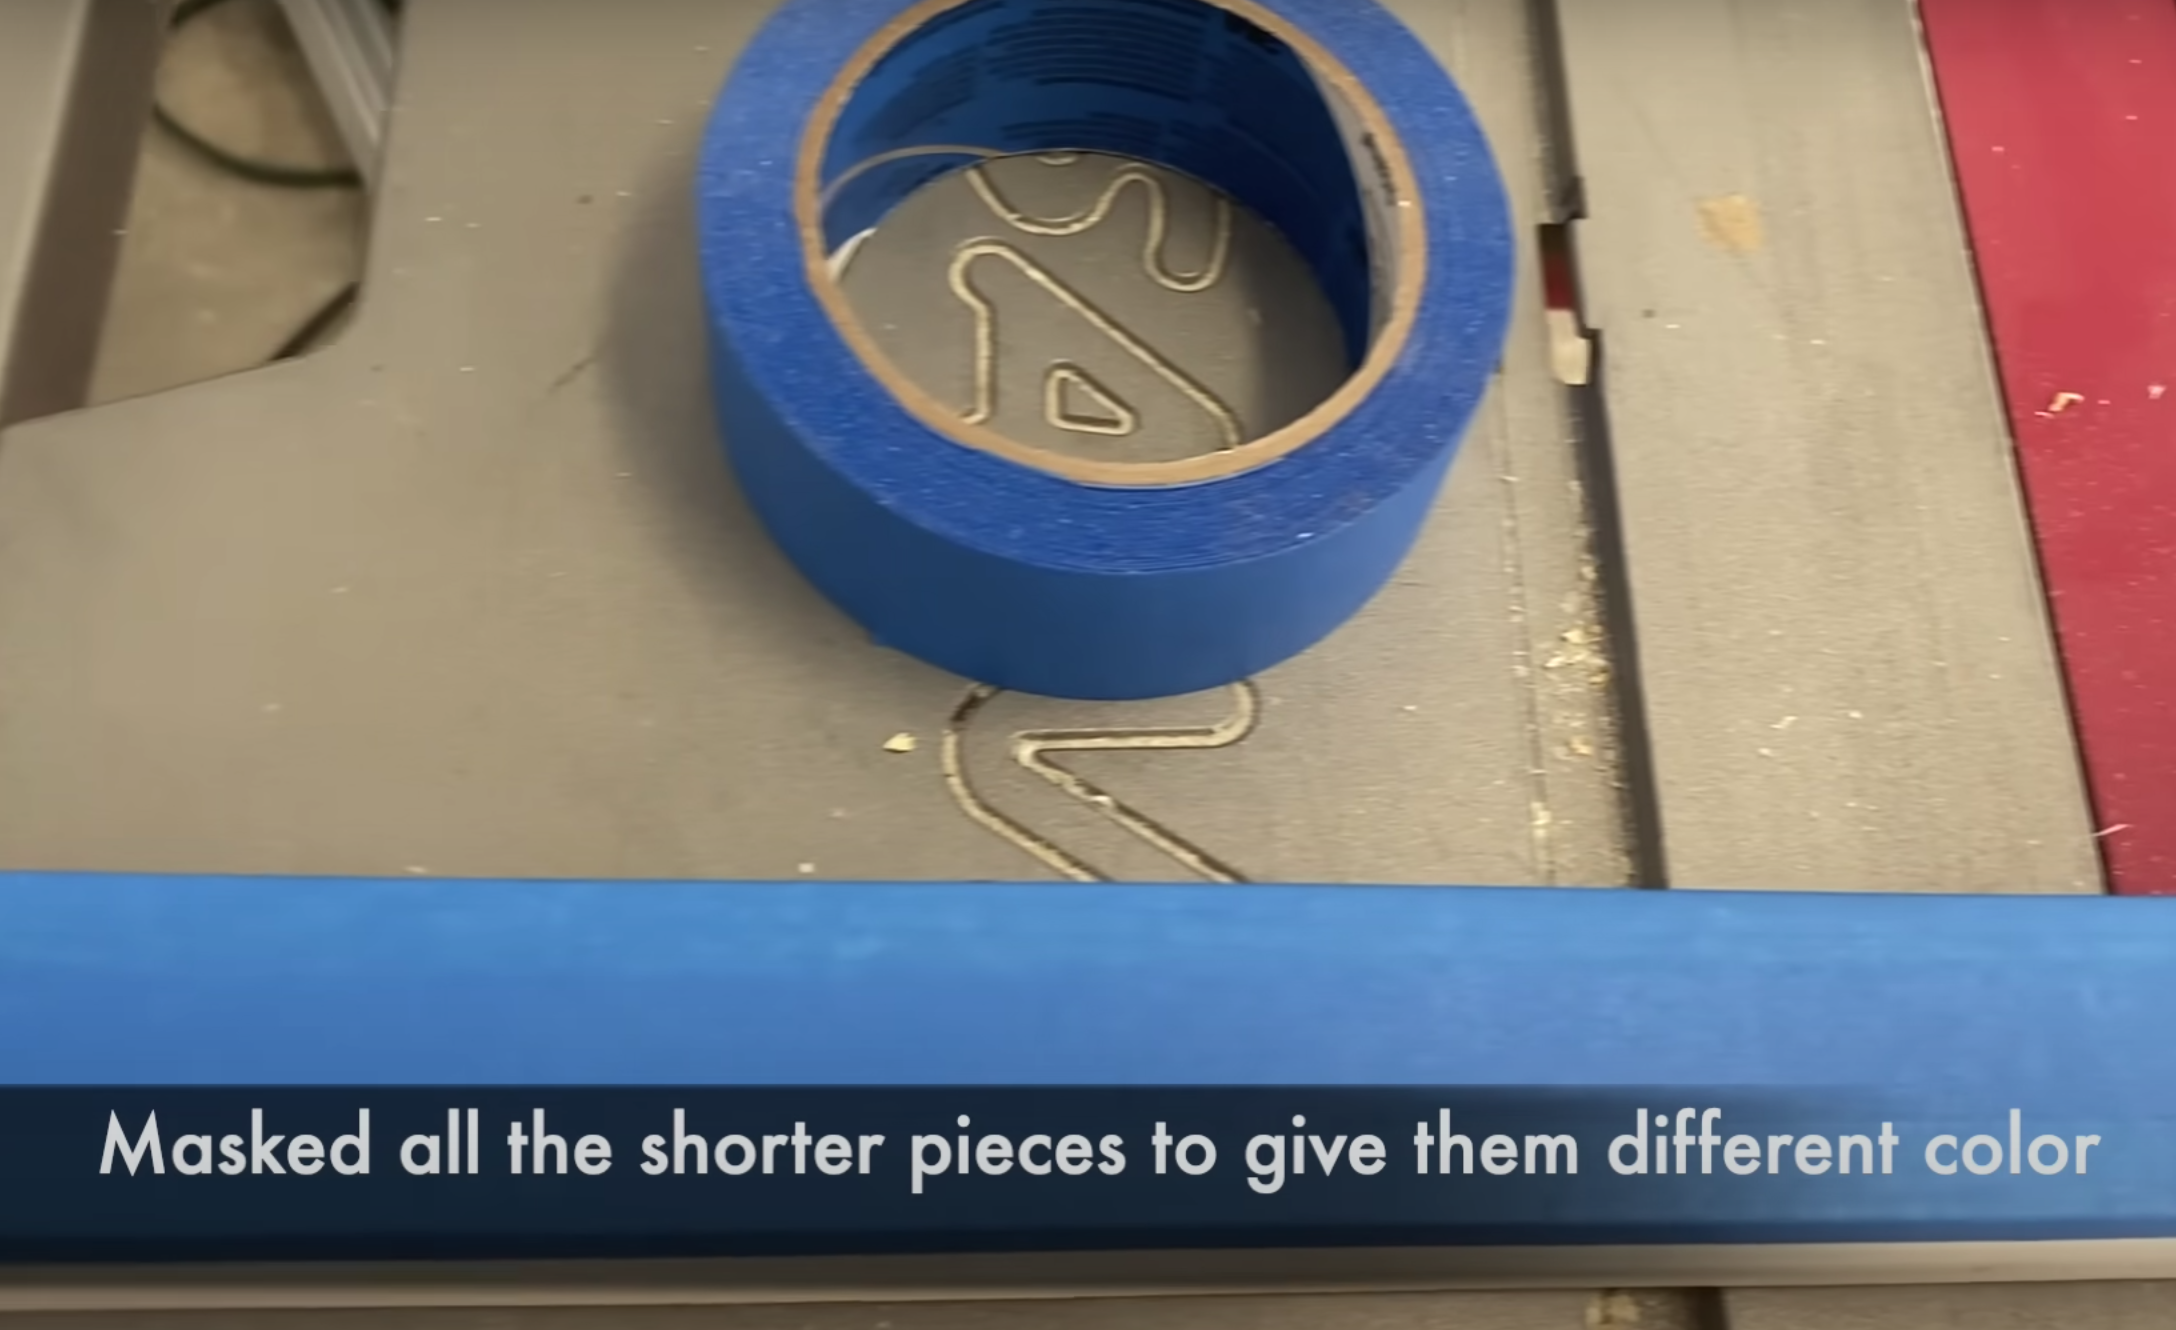
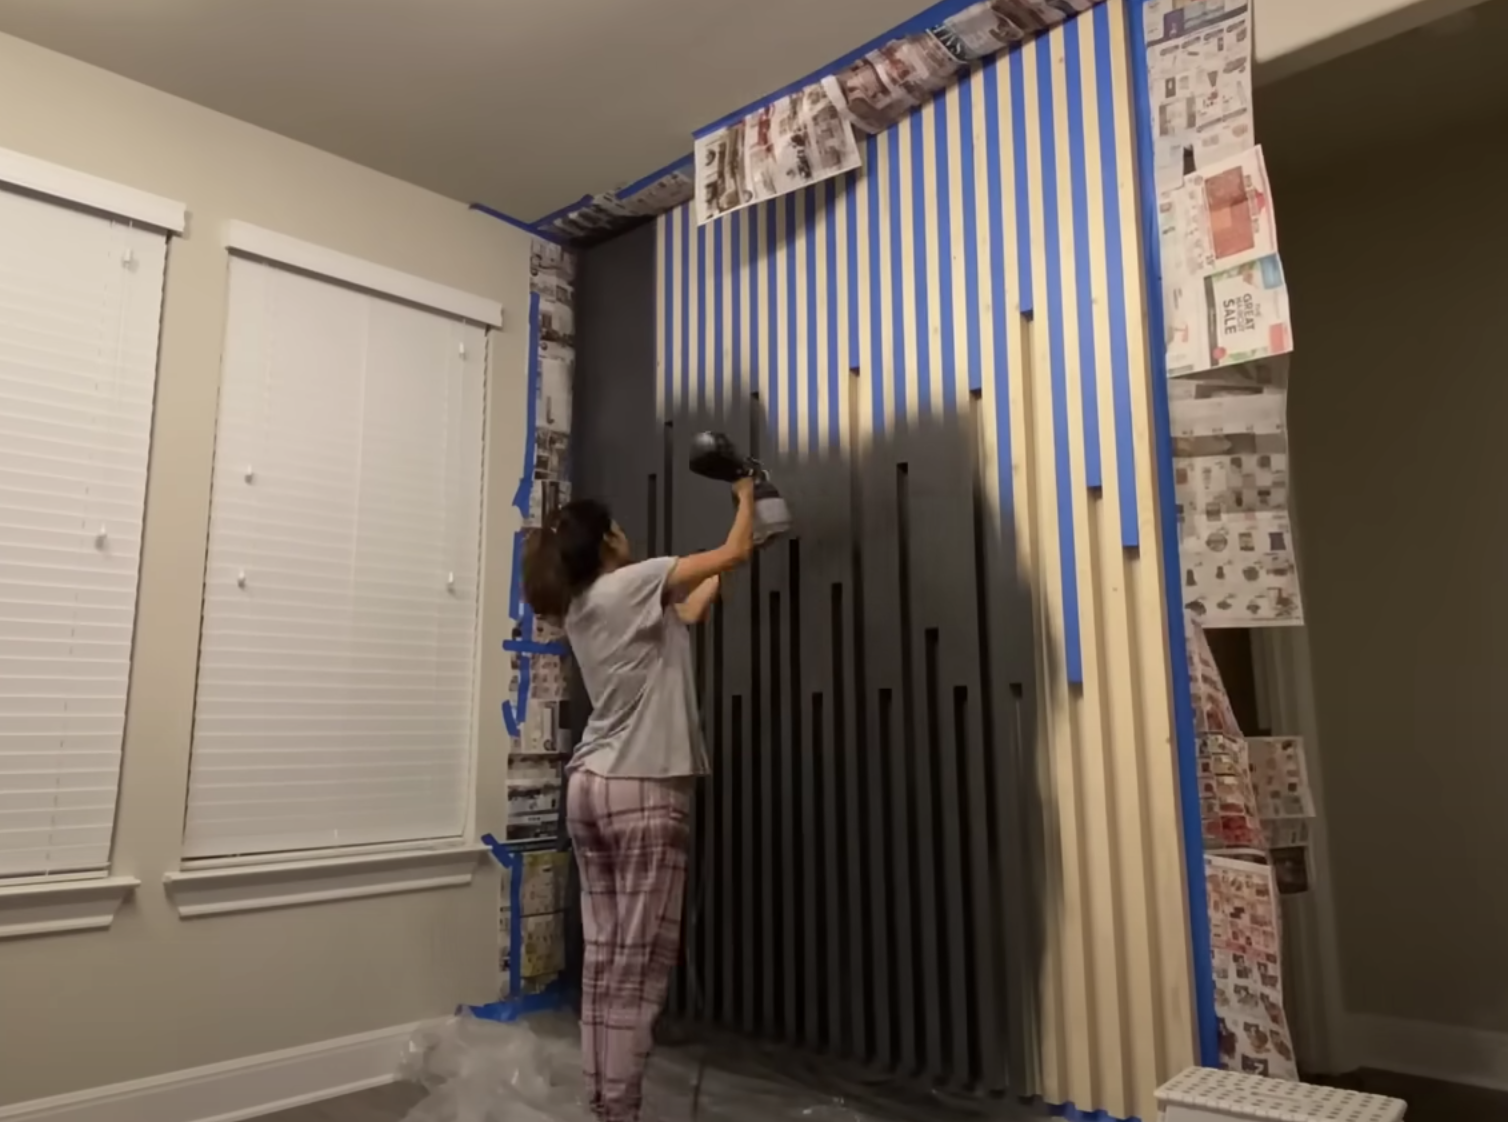
6. Masking:
We masked all the smaller pieces in preparation for a differentiated paint job.
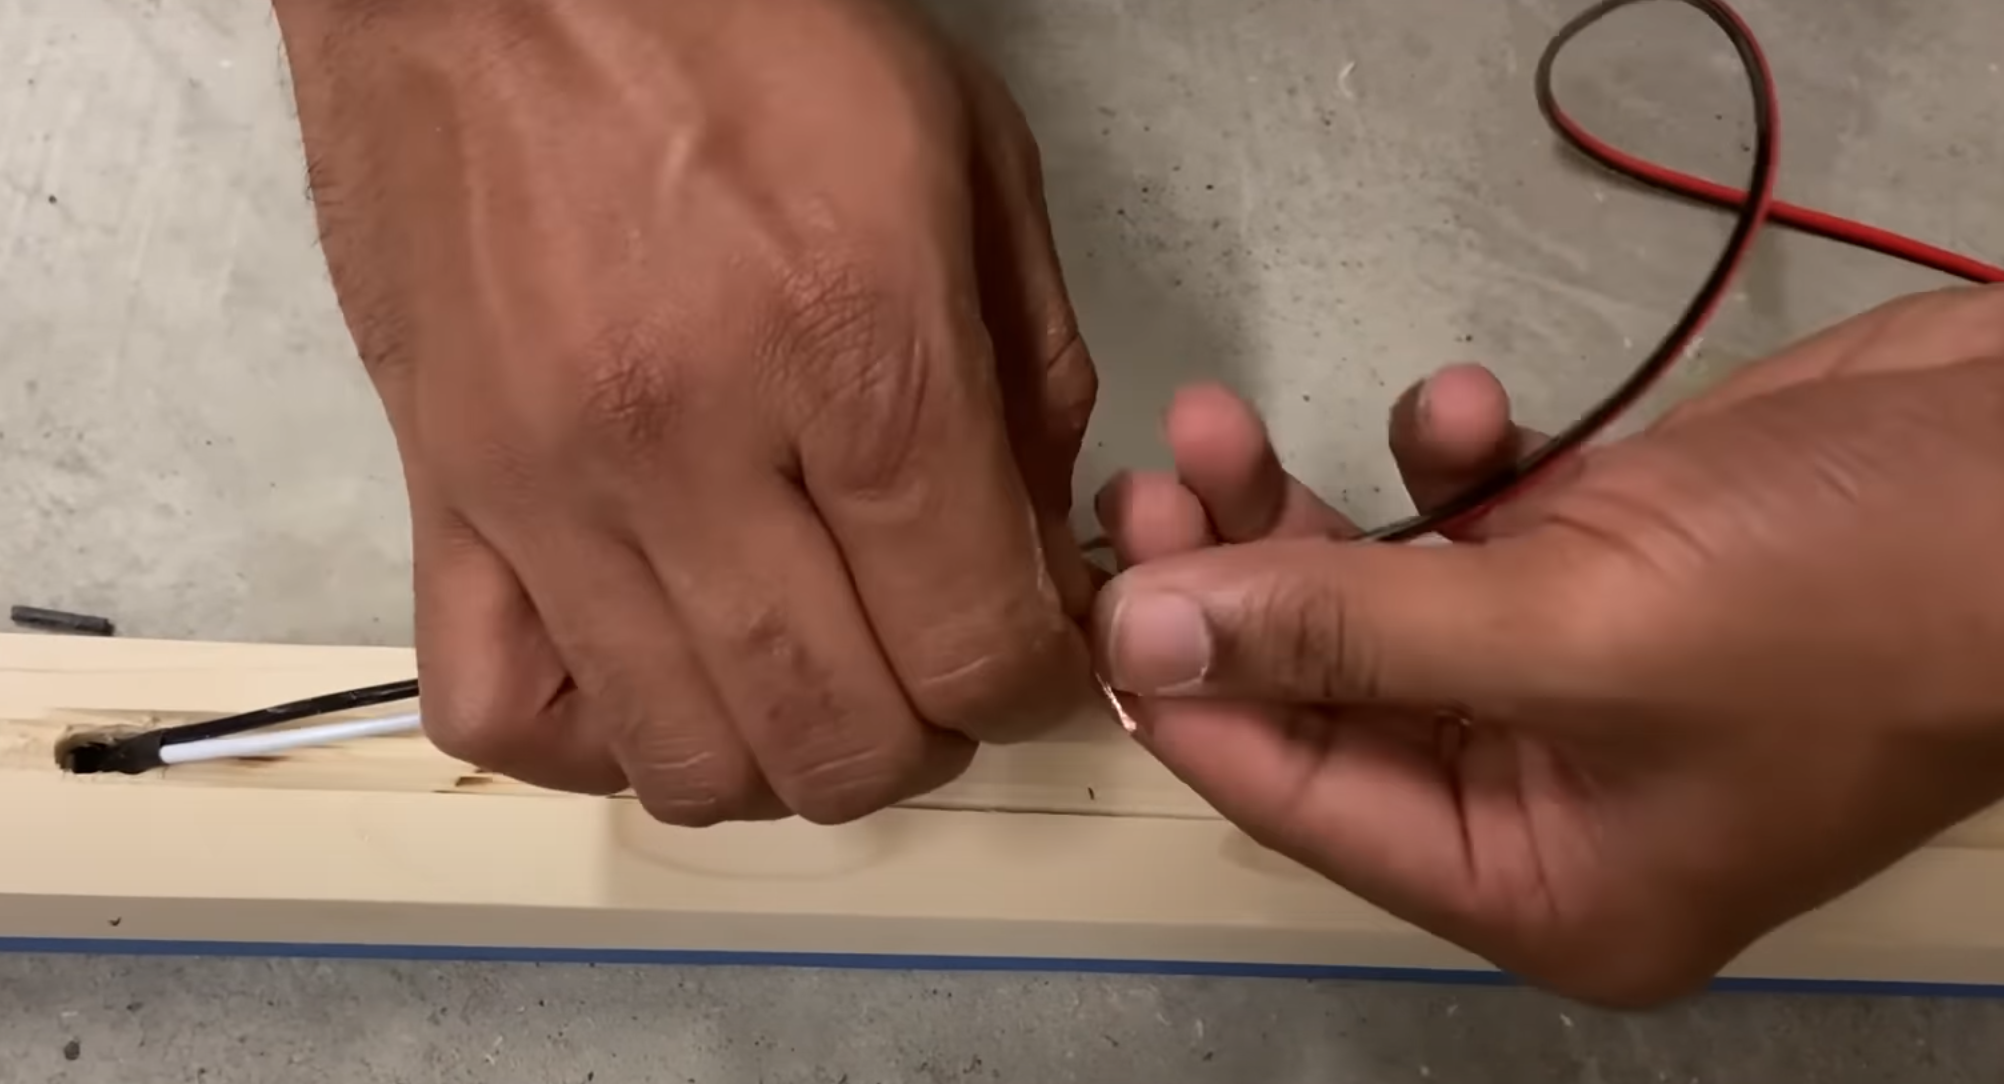
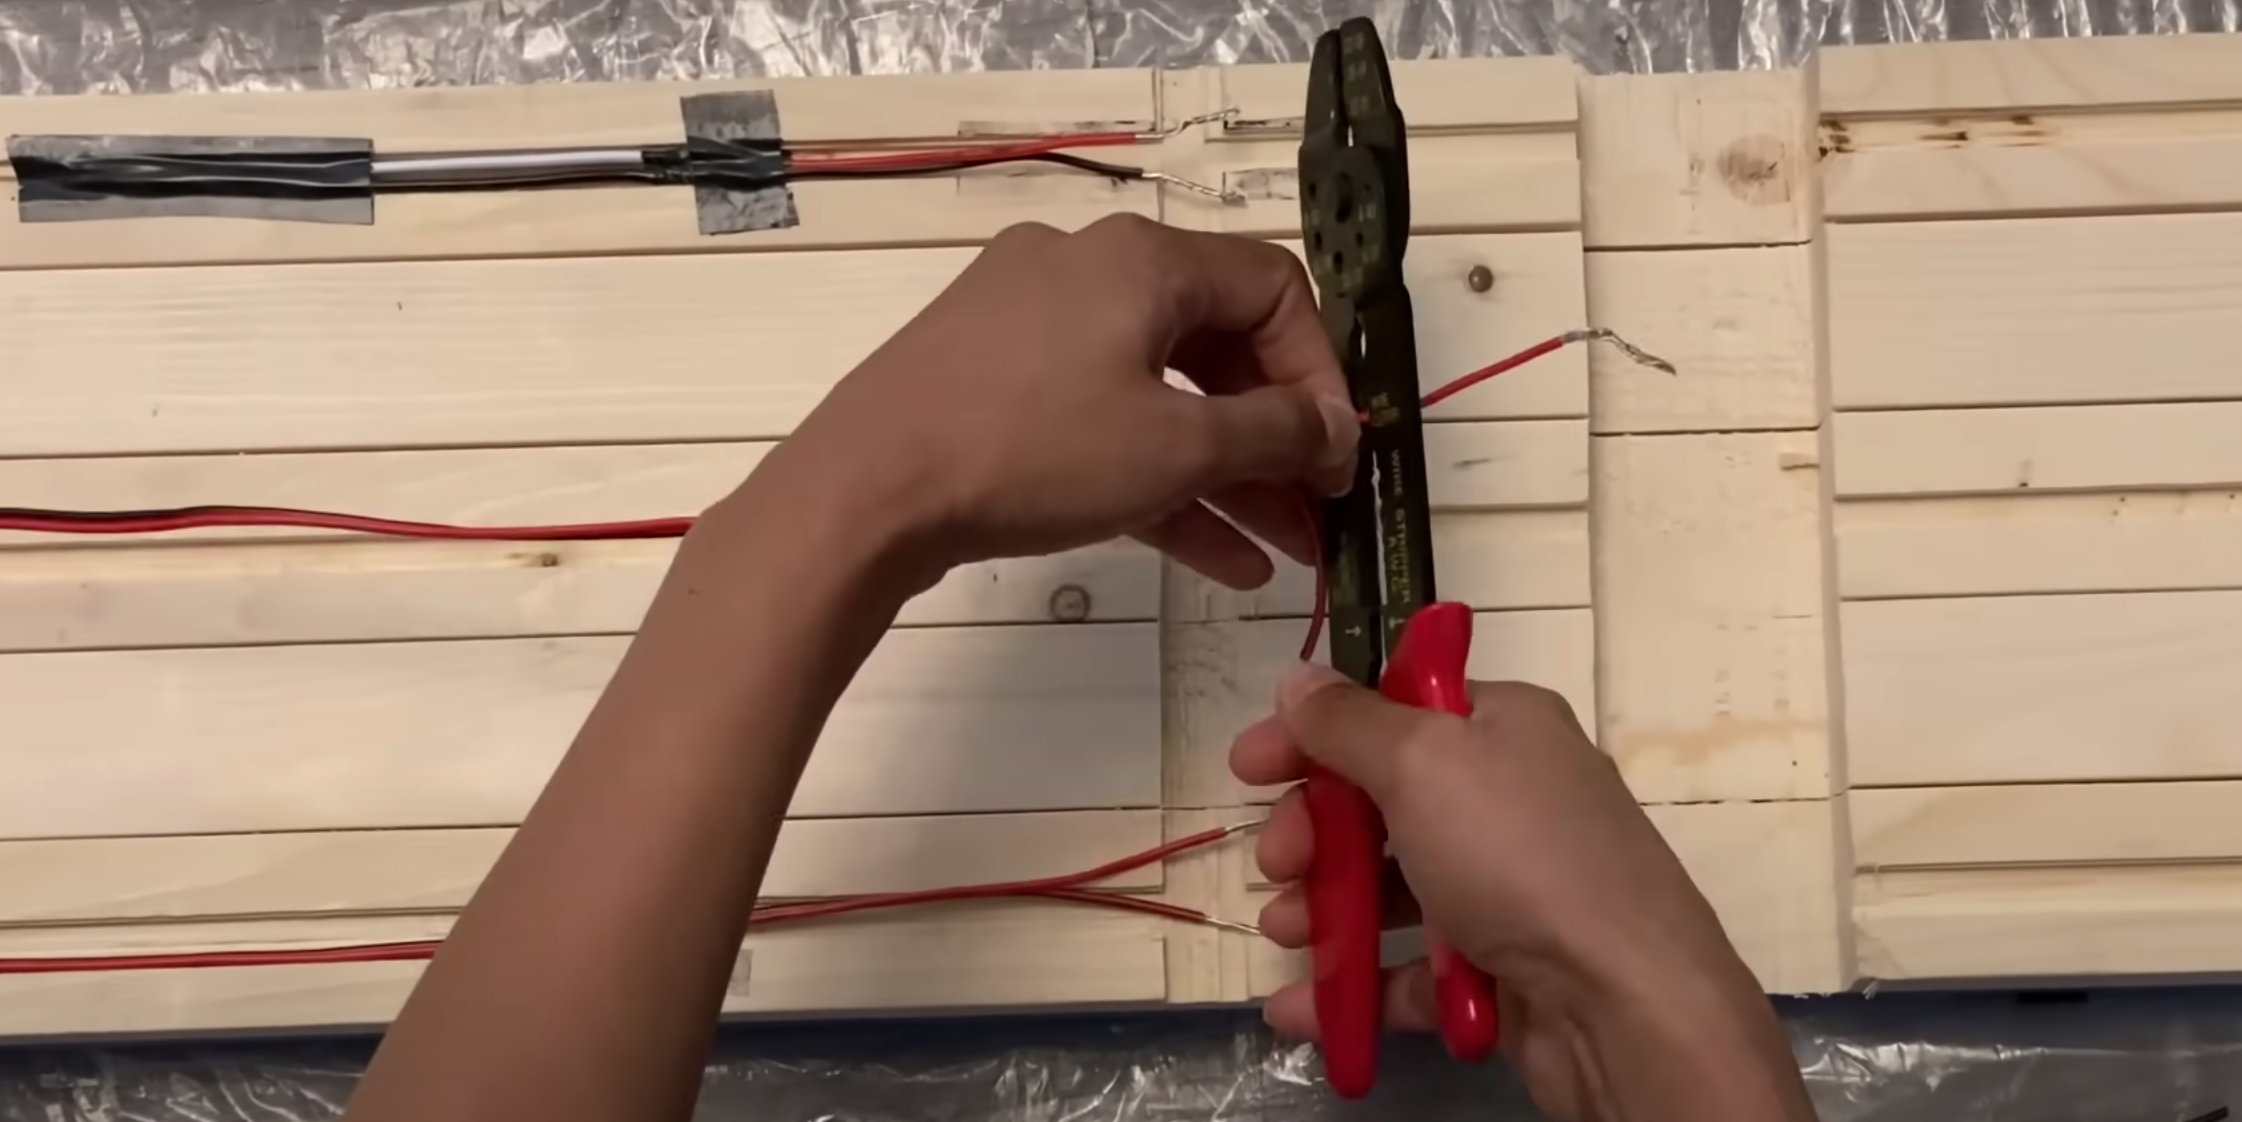
7. Wiring:
P.S: It's extremely important to ensure this step is done correctly for safety purposes. If you are comfortable with wiring, take advice from an electrician before approaching this step.
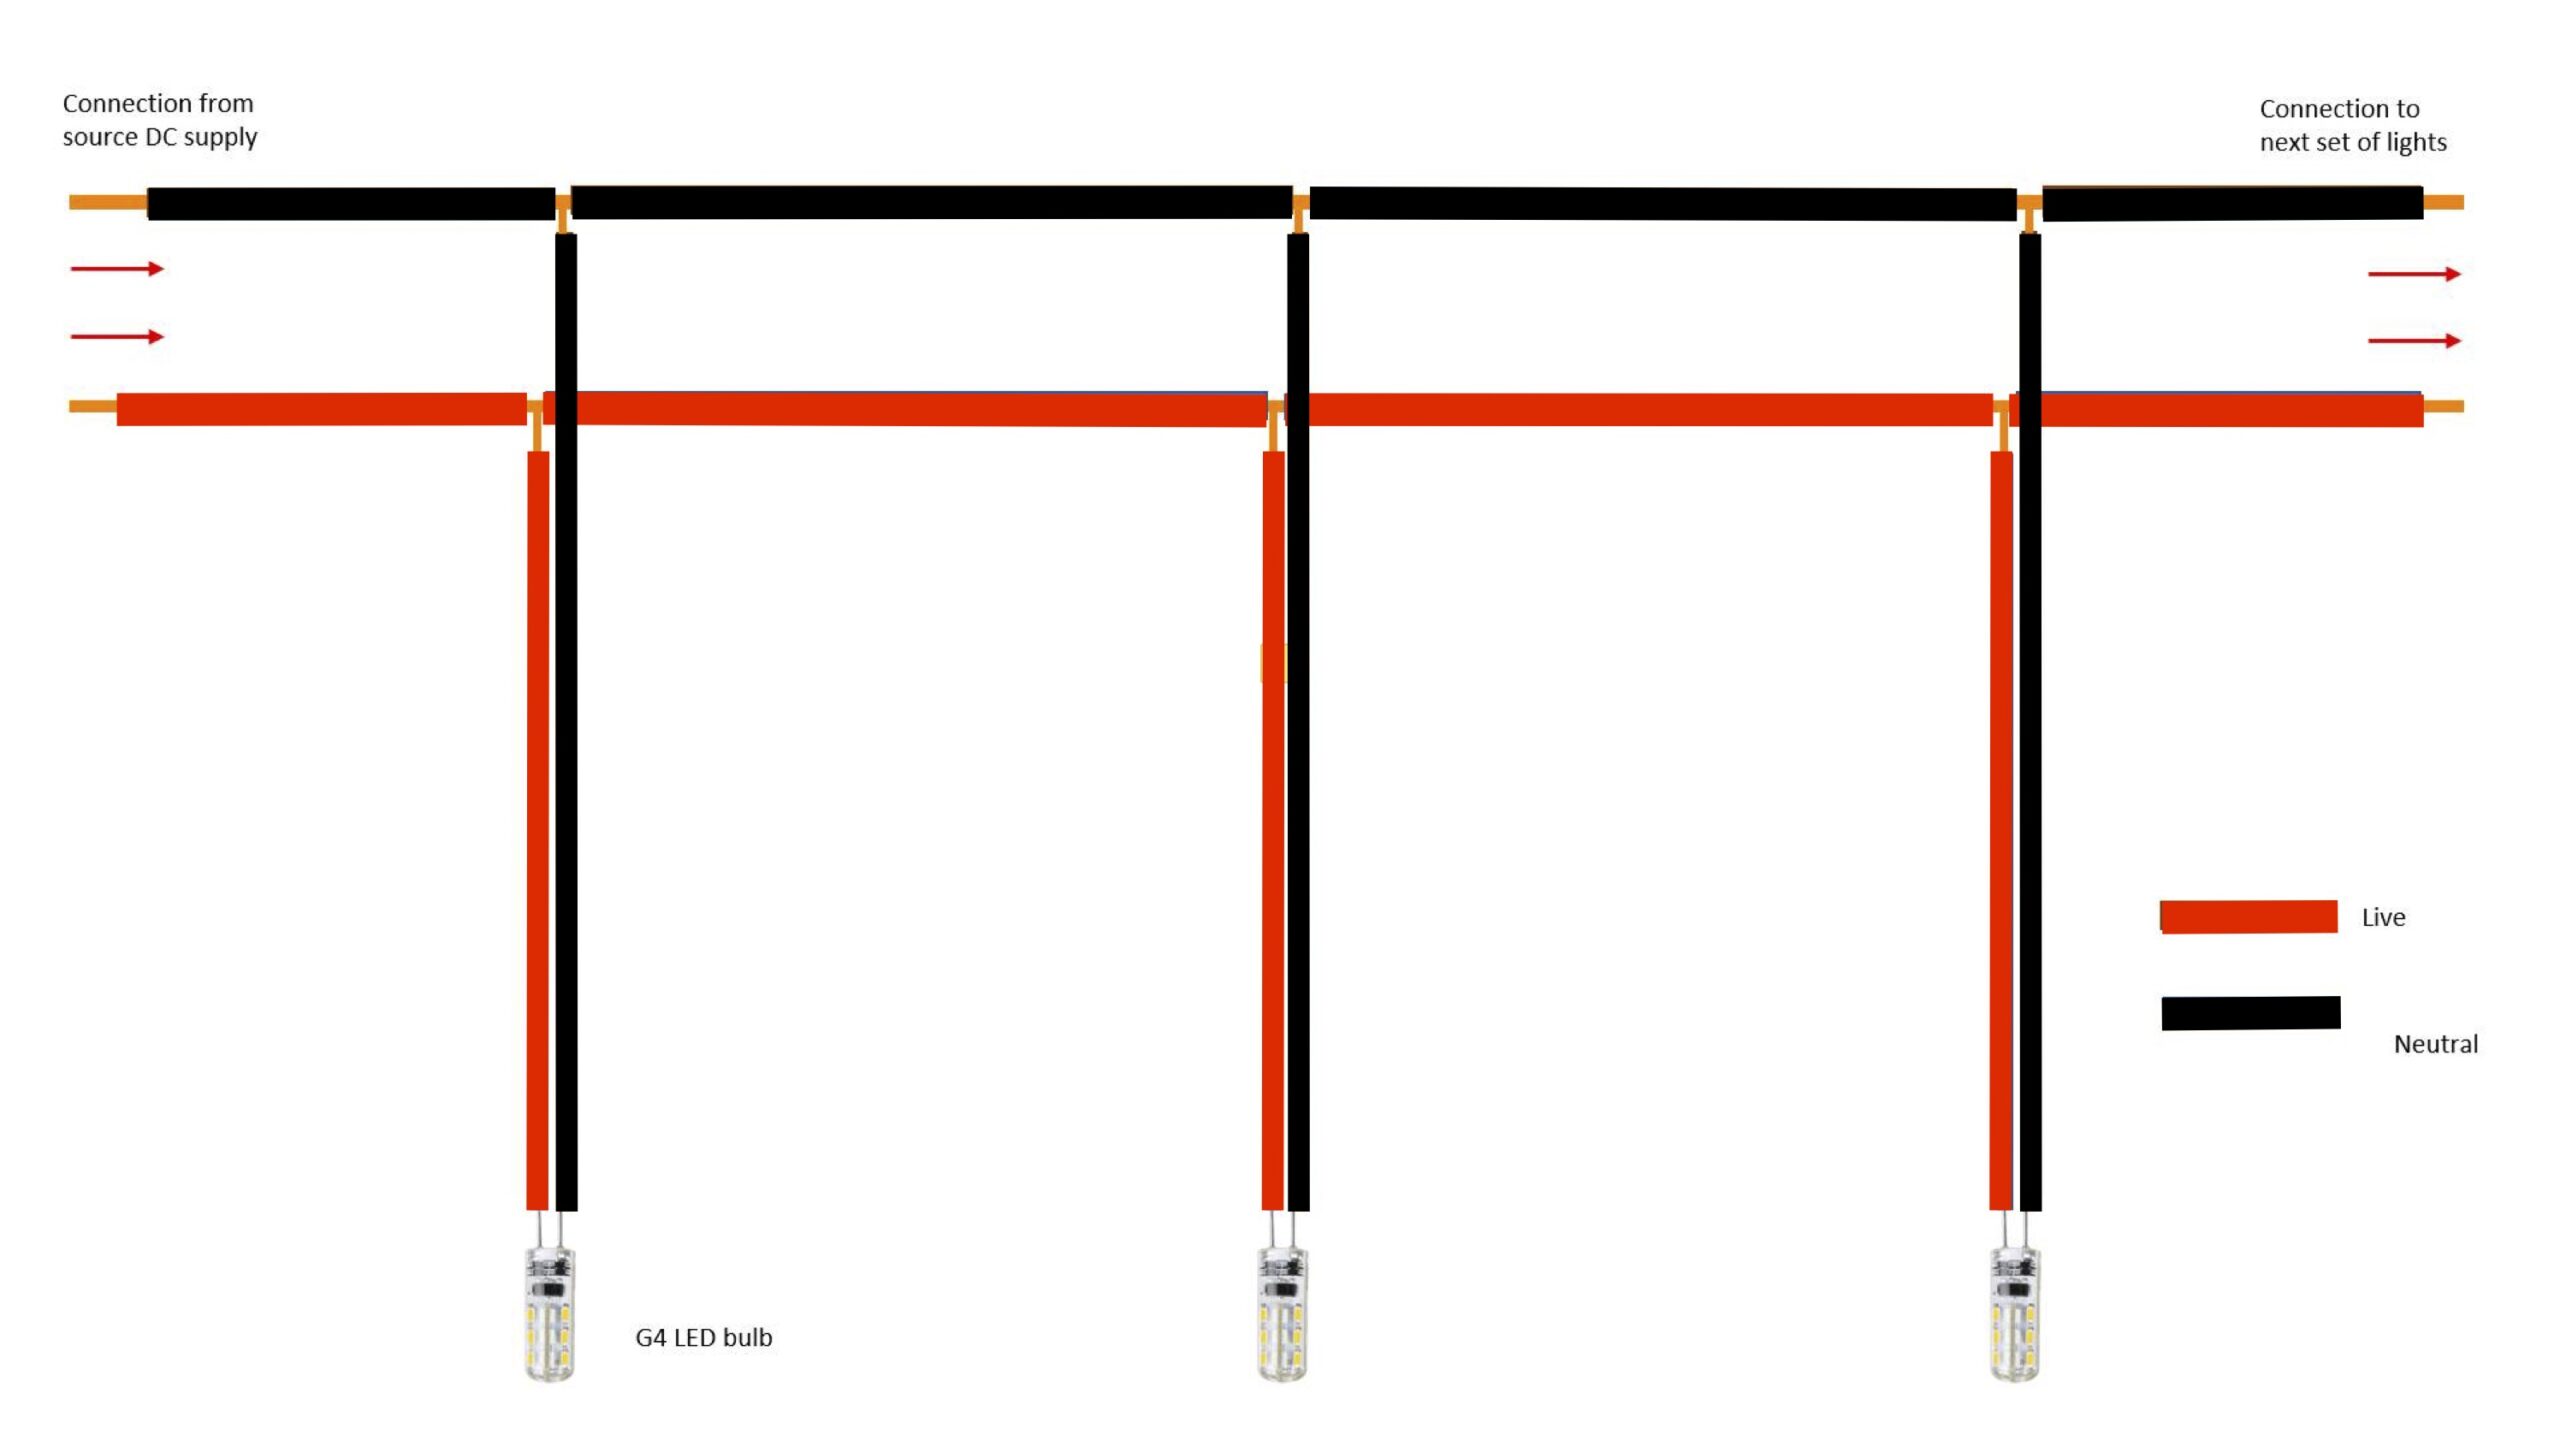
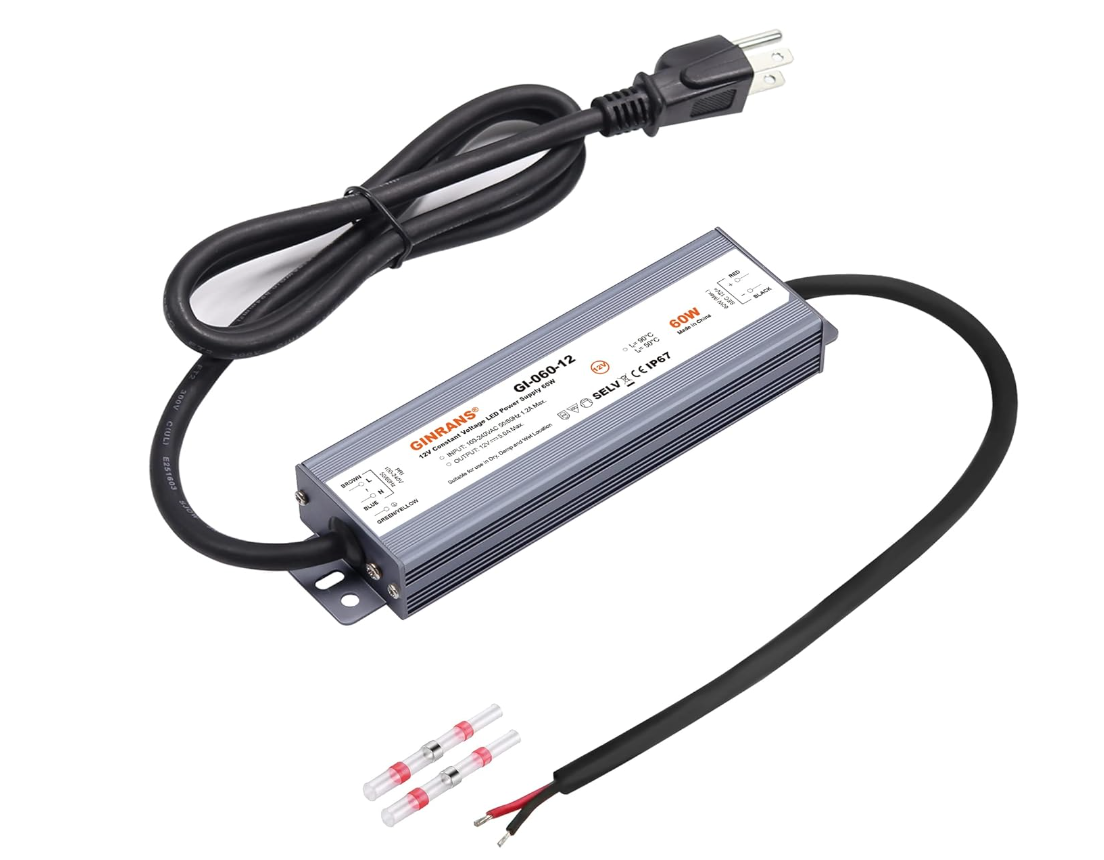
We connected 25 G4 LED bulbs, each 3.5W, in parallel for a 12V system, using TYUMEN 100FT 14/2 Gauge Red Black Cable
We inserted the bulbs into bulb holders and put them into the holes drilled as shown in step 4.
Below circuit diagram shows how the bulbs are connected.
We used electrical tape to insulate the connections. But we recommend using heat shrink tubes and apply heat to seal.
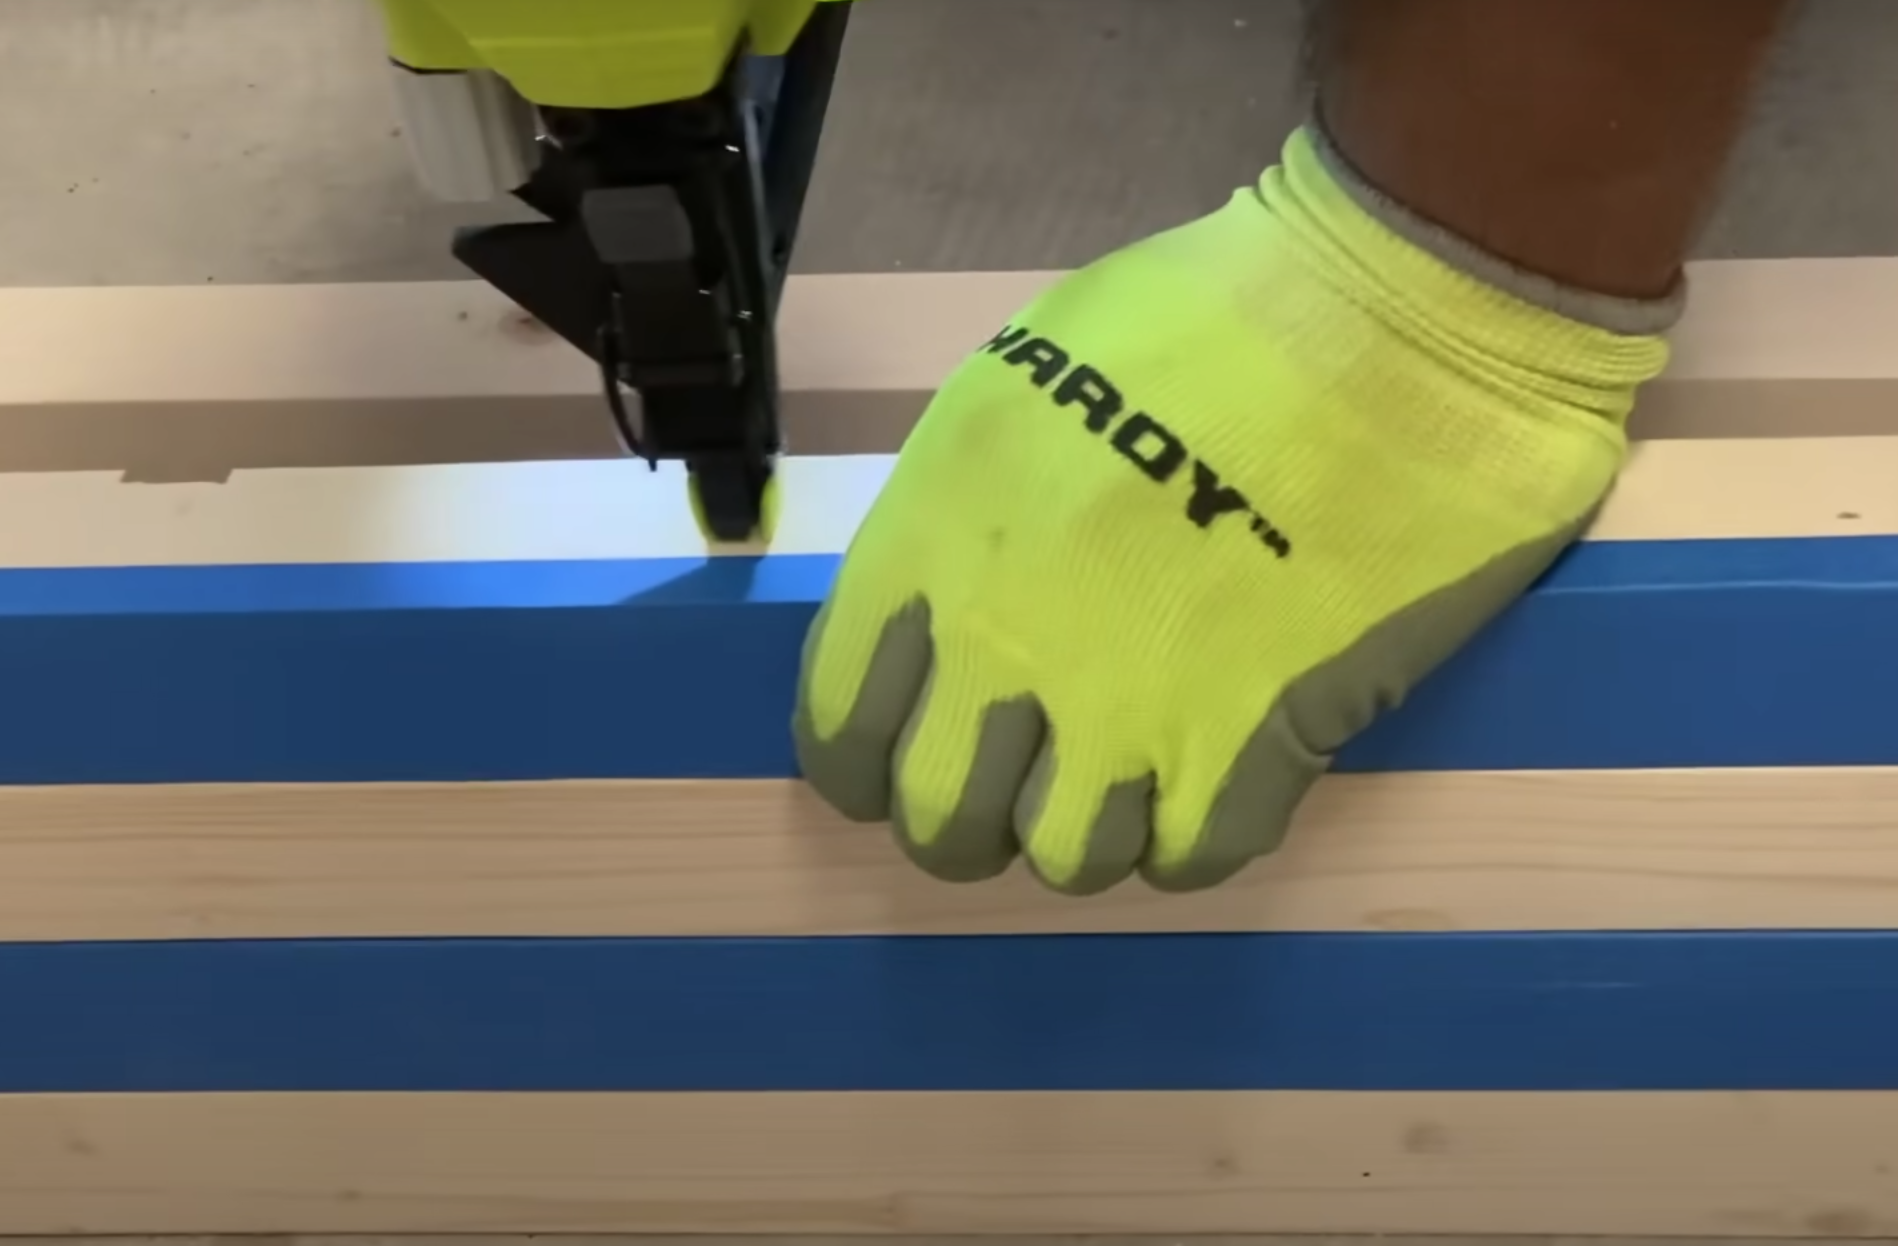
8. Make Sets:
To simplify the assembly process, we created sets of five blocks each, securing them with wood glue and the brad nailer for easier access.
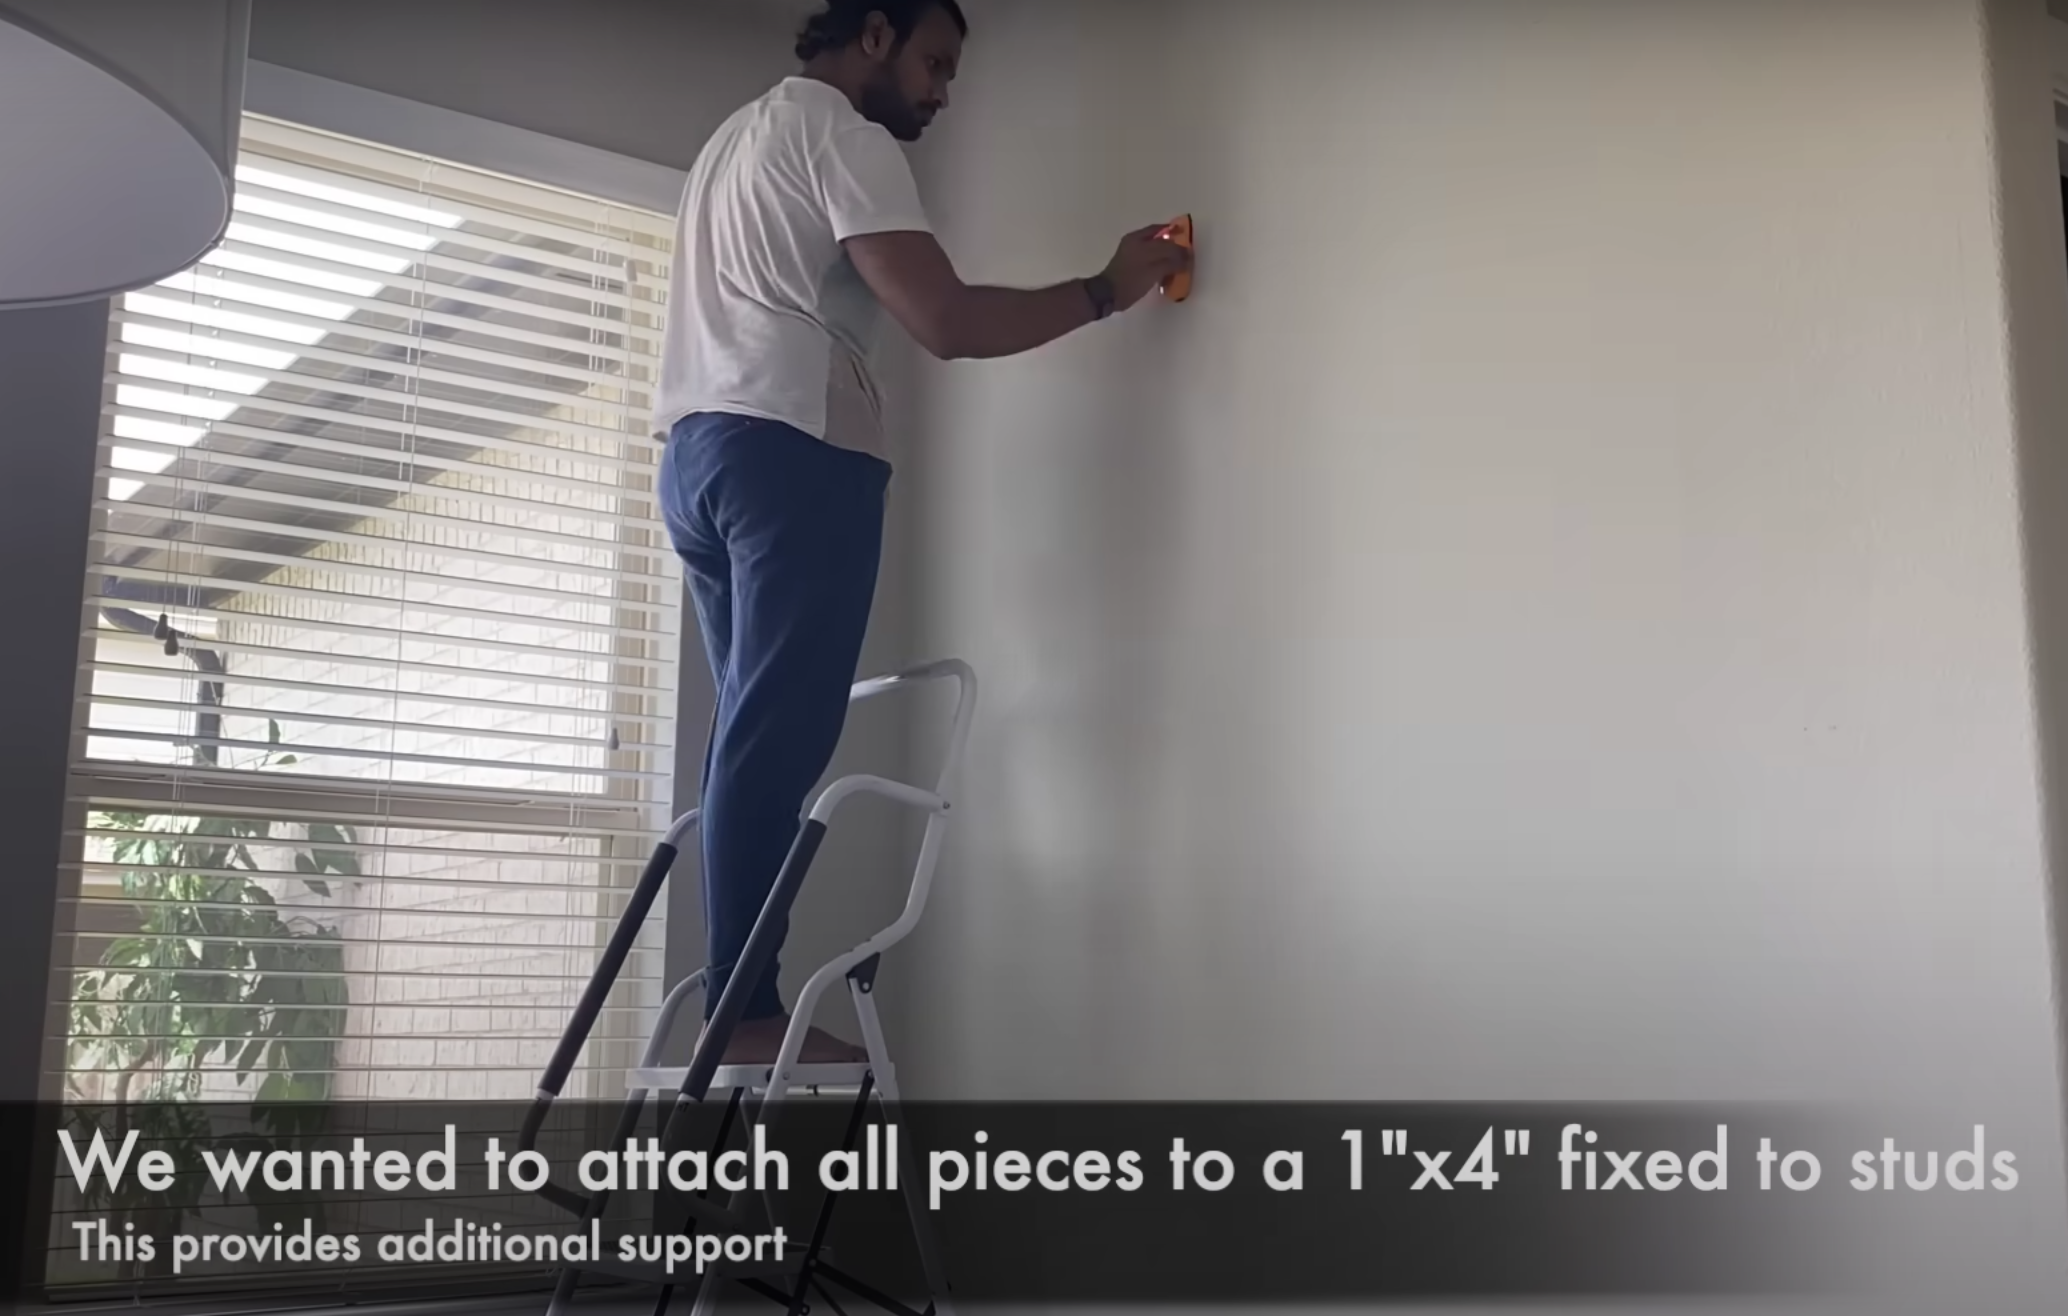
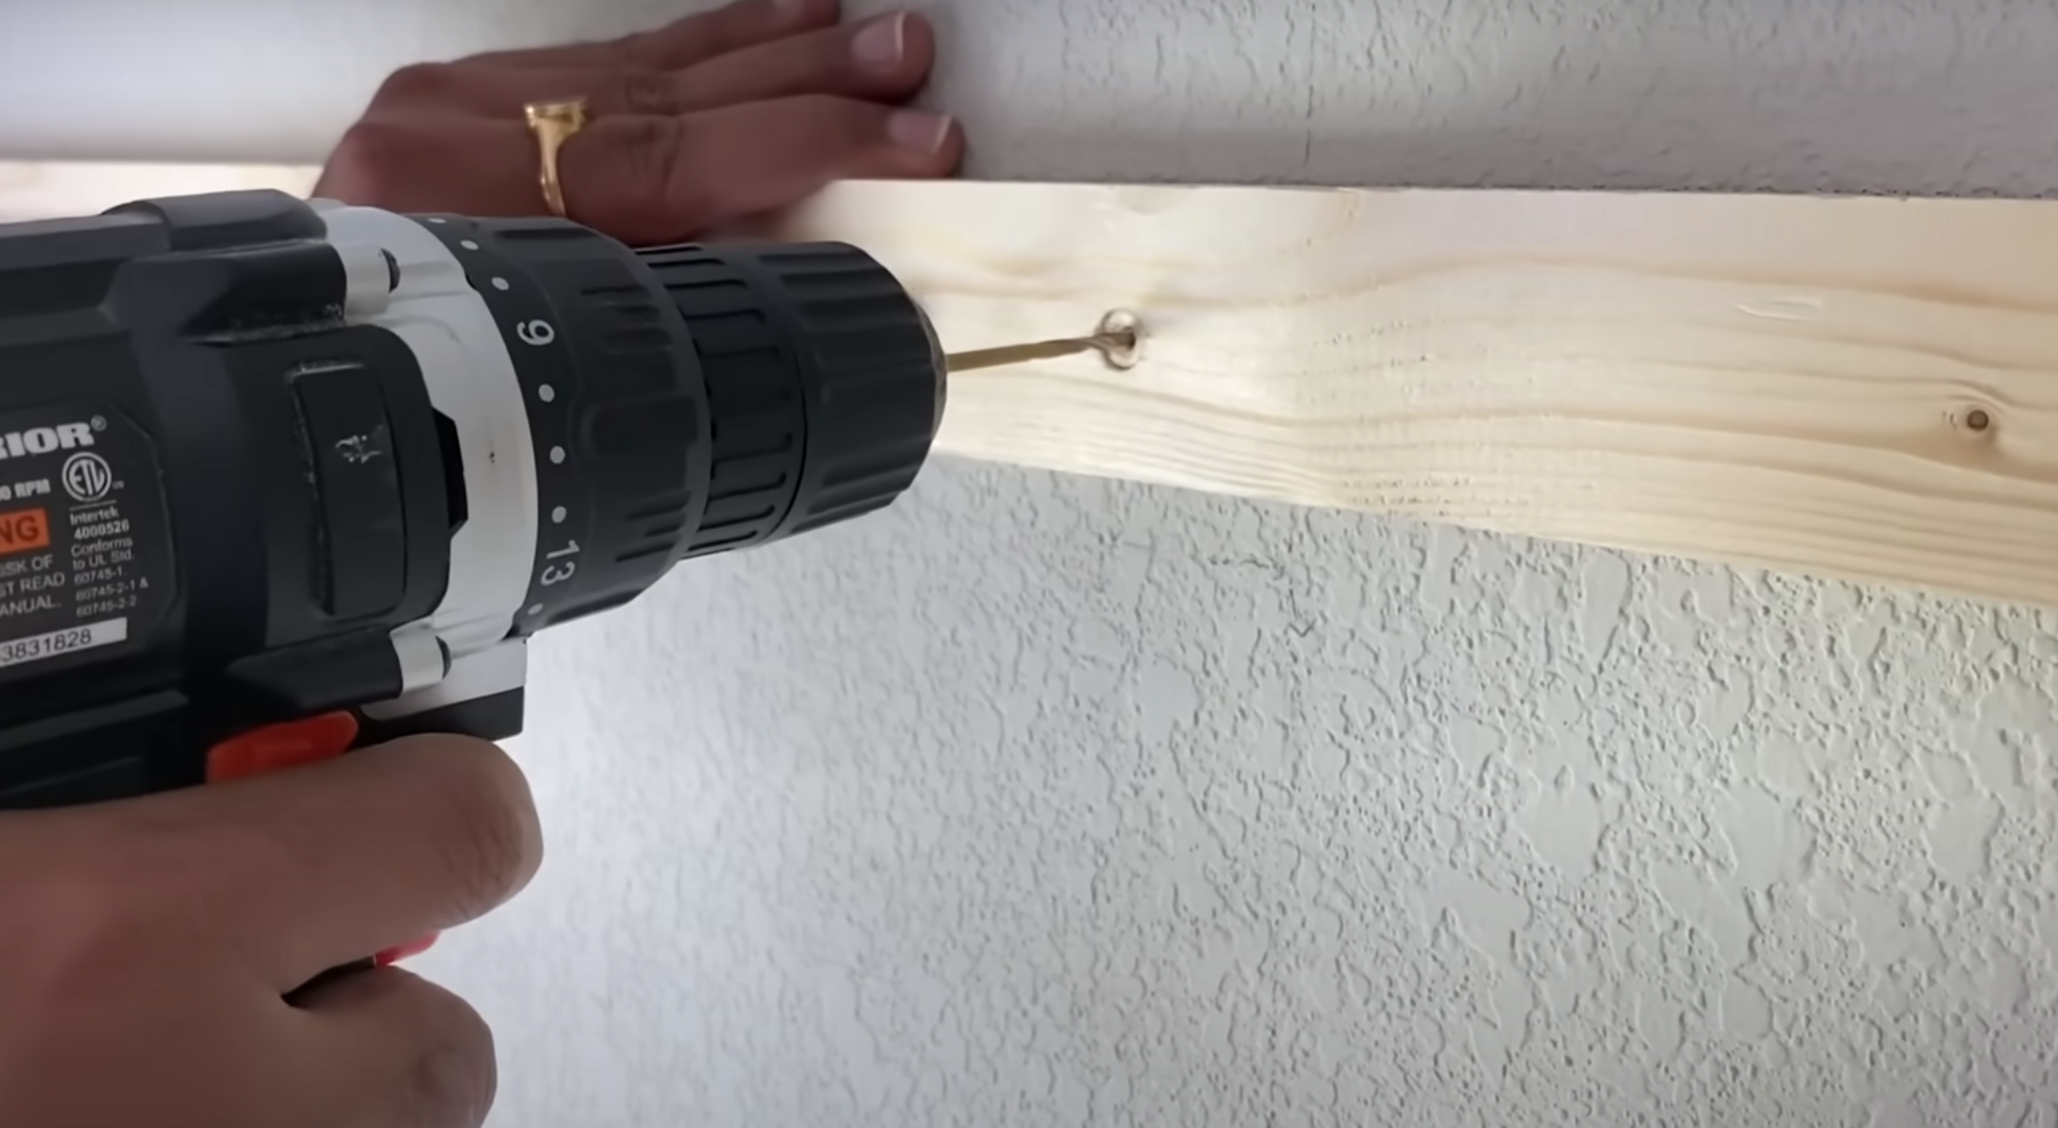
9. Find Studs:
To firmly attach the blocks, a 1"x4" wood strip was anchored to the wall studs.
10. Fix Support Strip:
This step provided additional support and a foundation for the block sets.
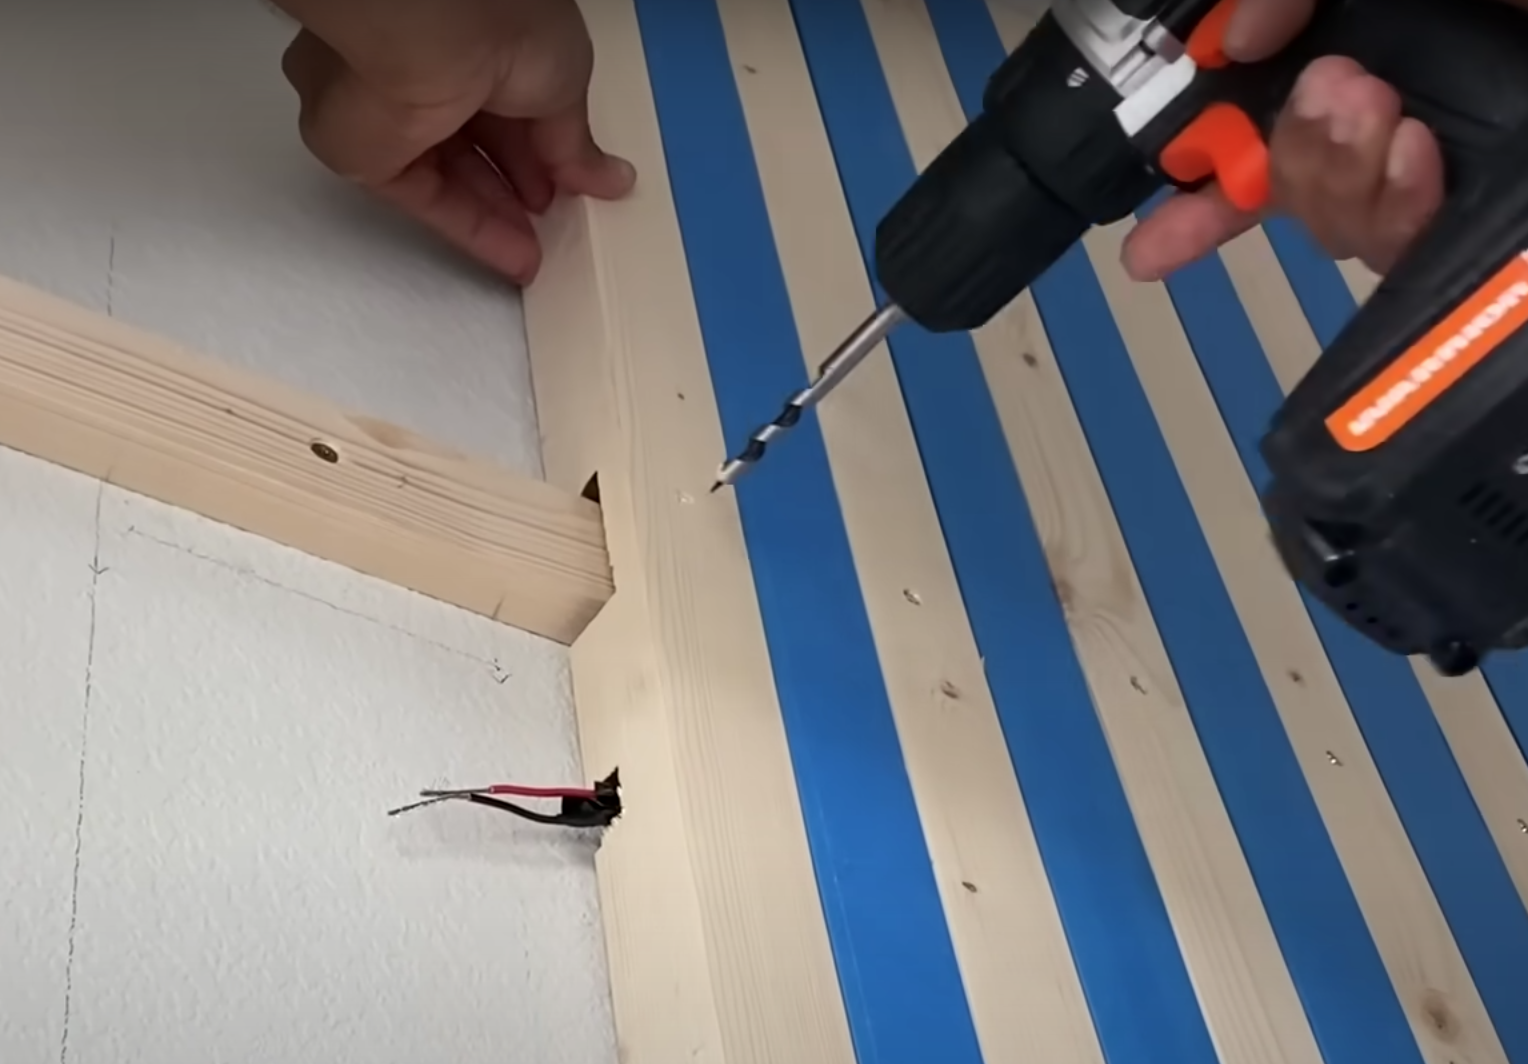
11. Mounting Sets to Wall:
Depending on the presence of a wall stud, we either used screws or opted for drywall anchors. Before attaching the sets, we ensured all connections between them were established.
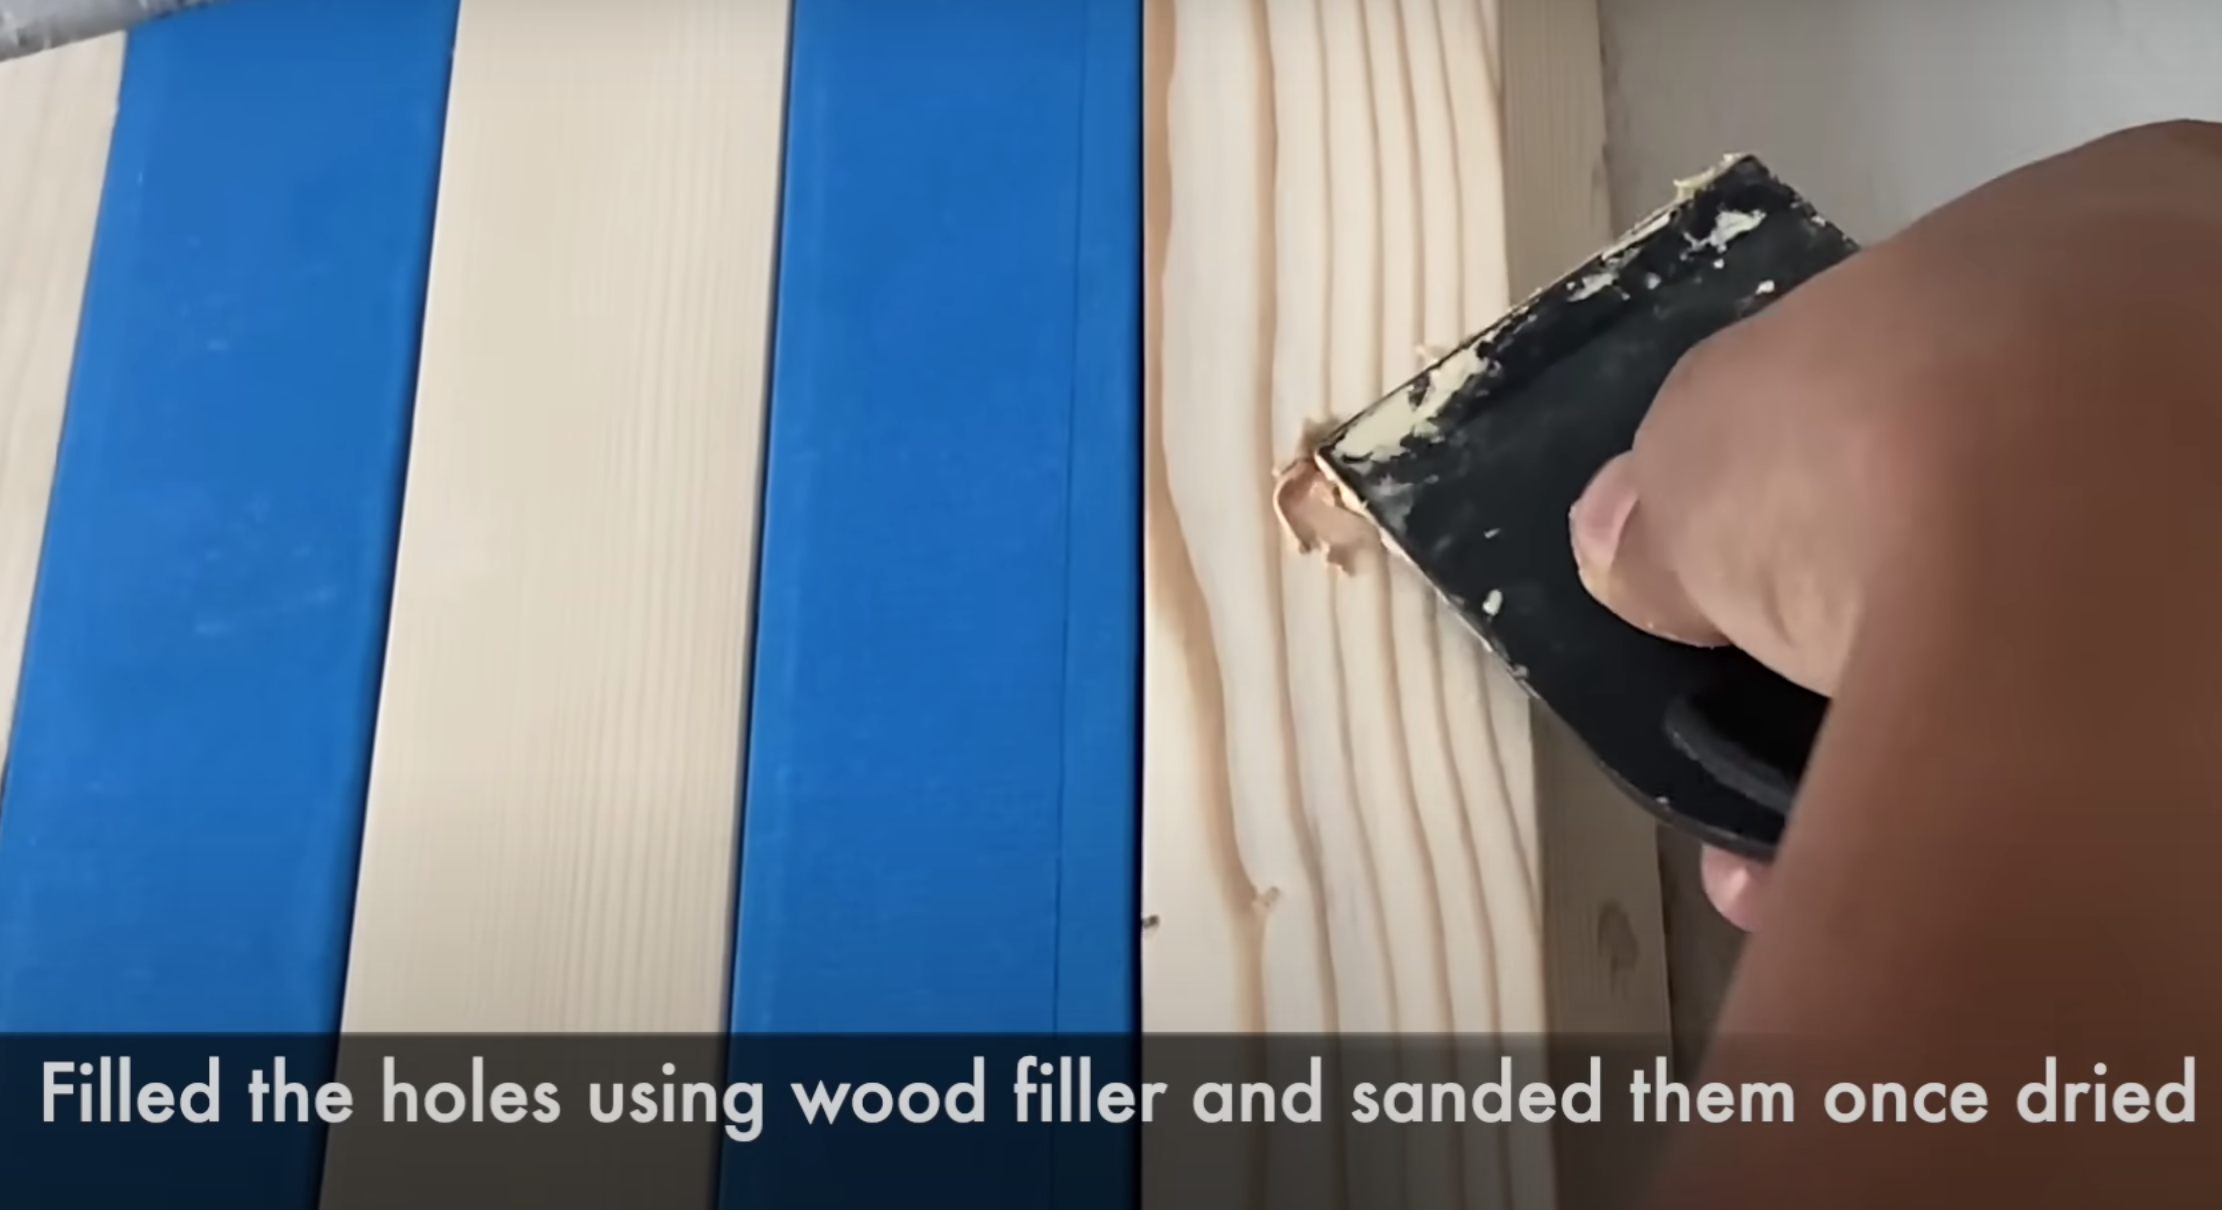
12. Filling and Sanding:
Any imperfections or gaps were filled, followed by another round of sanding to ensure a seamless look.
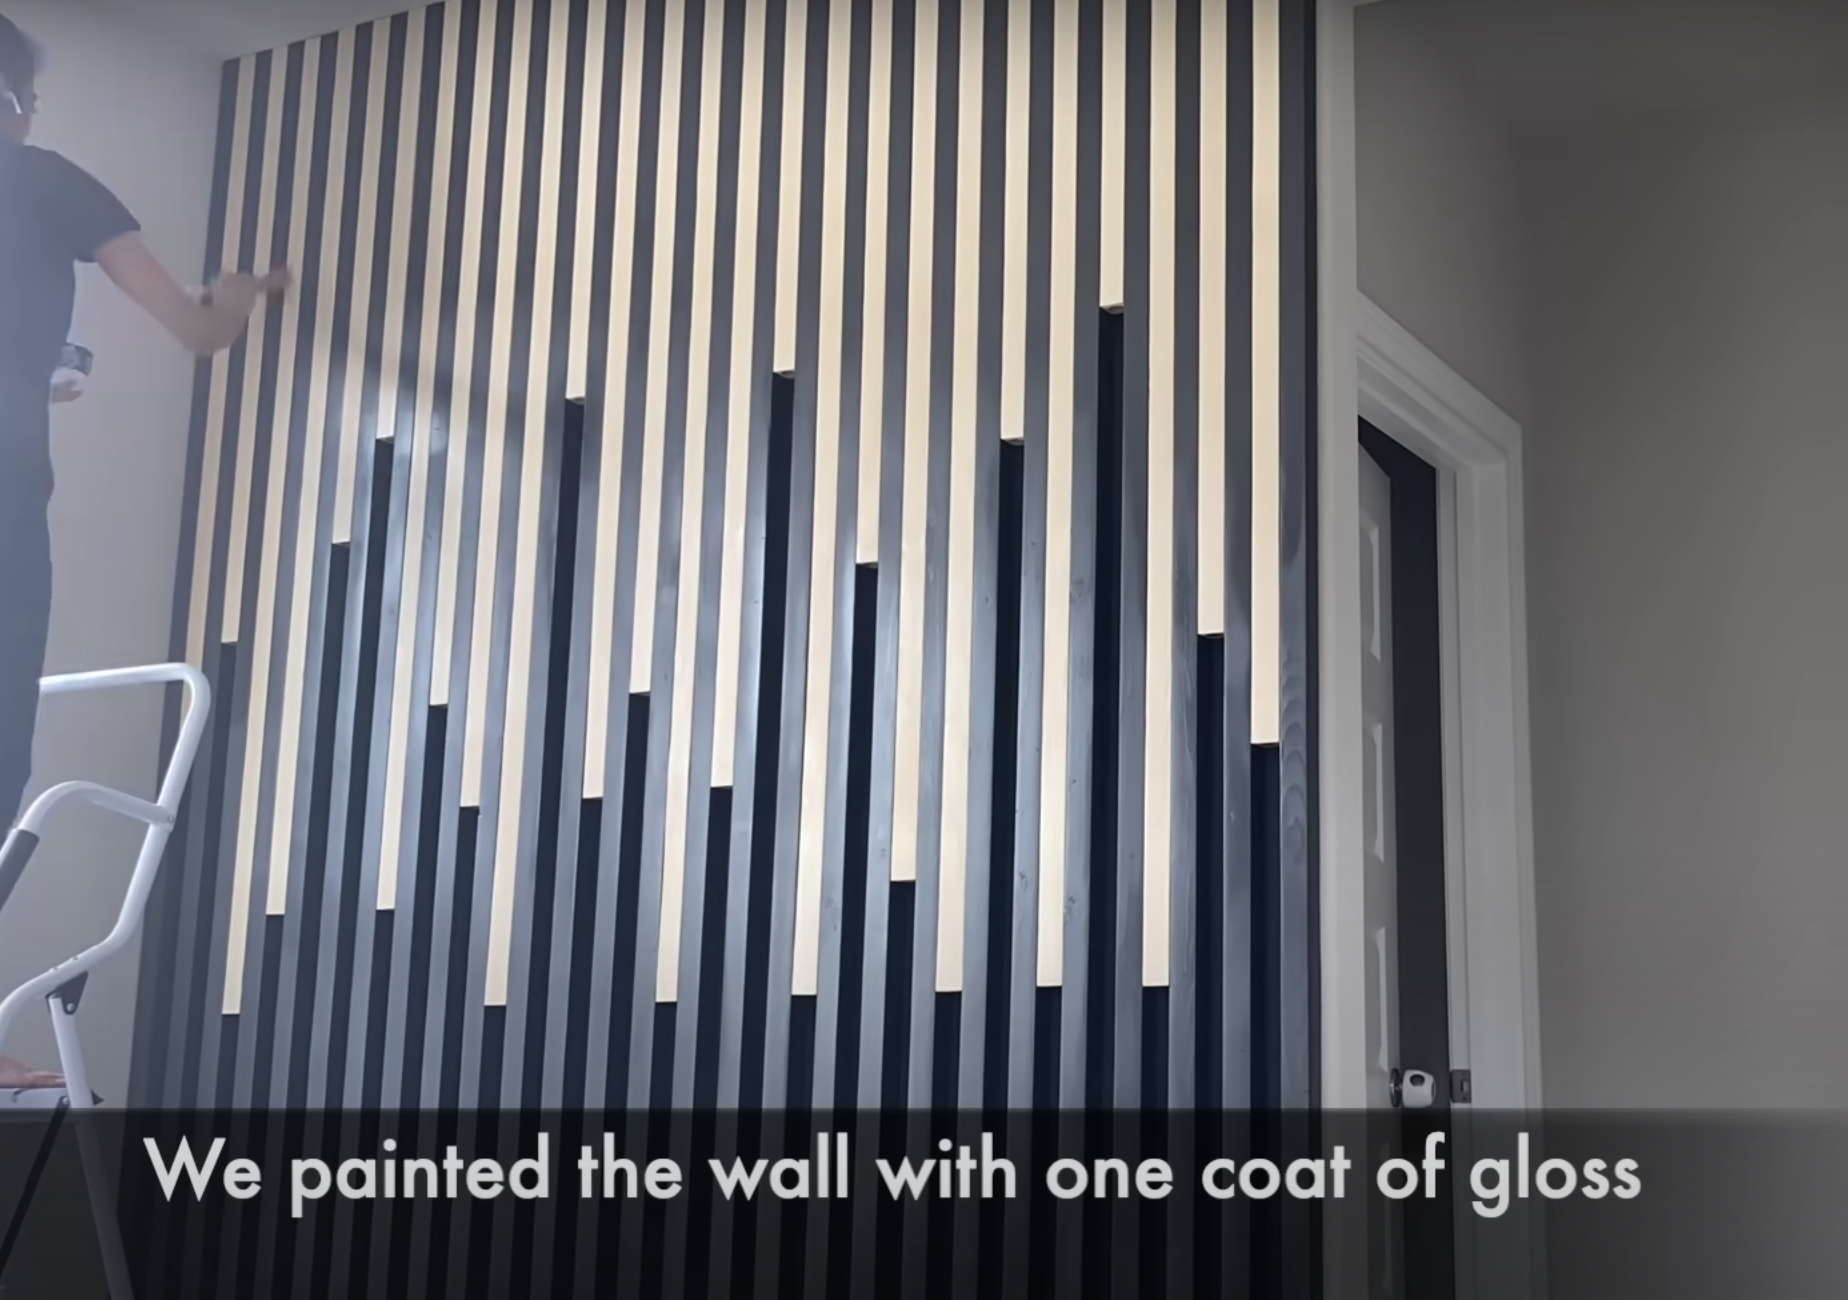
13. Painting:
Adjacent walls were protected with masking tape and paper. Everything received a coat of charcoal grey paint. After drying, we unmasked the smaller blocks and sealed everything with a glossy finish.
We applied one coat of gloss to give a nice finish to wood blocks in the end.
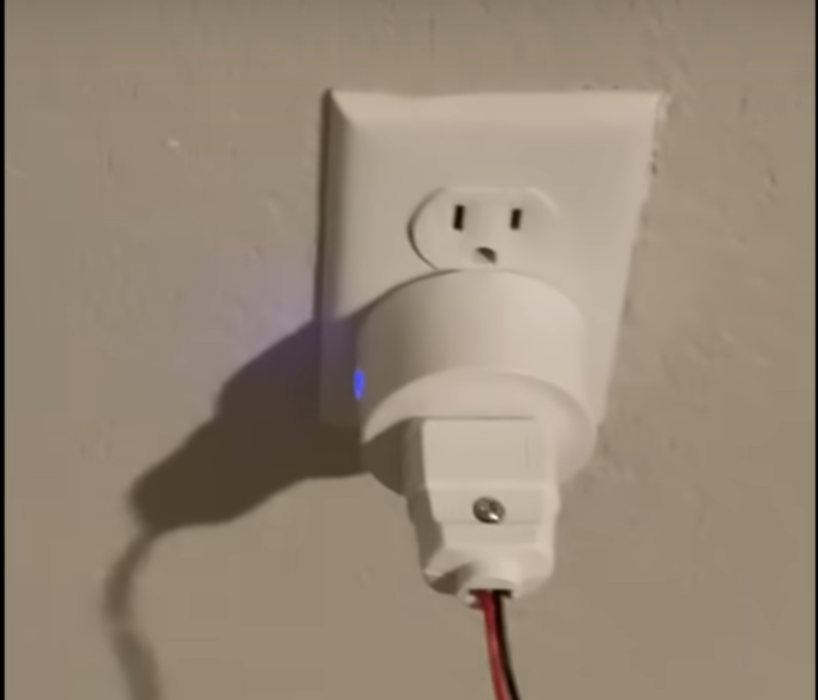
We connected the lights to an adapter and then to smart switch so that we could operate it with voice command.
Creating this illuminated accent wall was both challenging and incredibly rewarding. It not only lit up our room but also brightened our spirits, knowing we’d crafted it ourselves. If you're looking to add a unique touch to your space, don't shy away from DIY projects like this. The result is well worth the effort!
Please note:
Local Regulations: Our guide is based on the US power supply and electrical codes. Regulations vary by location; ensure compliance with your local codes before starting. Material Compatibility: Ensure all materials are suitable for your local power specifications and adhere to safety standards. Electrical Safety: Attempting electrical DIY projects carries risks. If unsure, consult a licensed electrician.